

Recently, I needed to trim 50 protruding dowels flush with the surface. I started by using a flush cut handsaw to trim any that were sticking out more than 1/16”. Now, in my experience, flush cut saws are good at making cuts against a surface without damaging it, but they actually do not work well to leave the protrusion flush.
To properly flush the protrusion, I usually reach for a chisel. With the flat back of the chisel on the workpiece and bevel facing upwards, I slide the chisel sideways across the protrusion while applying a moderate amount of controlled forward force to make a paring cut.
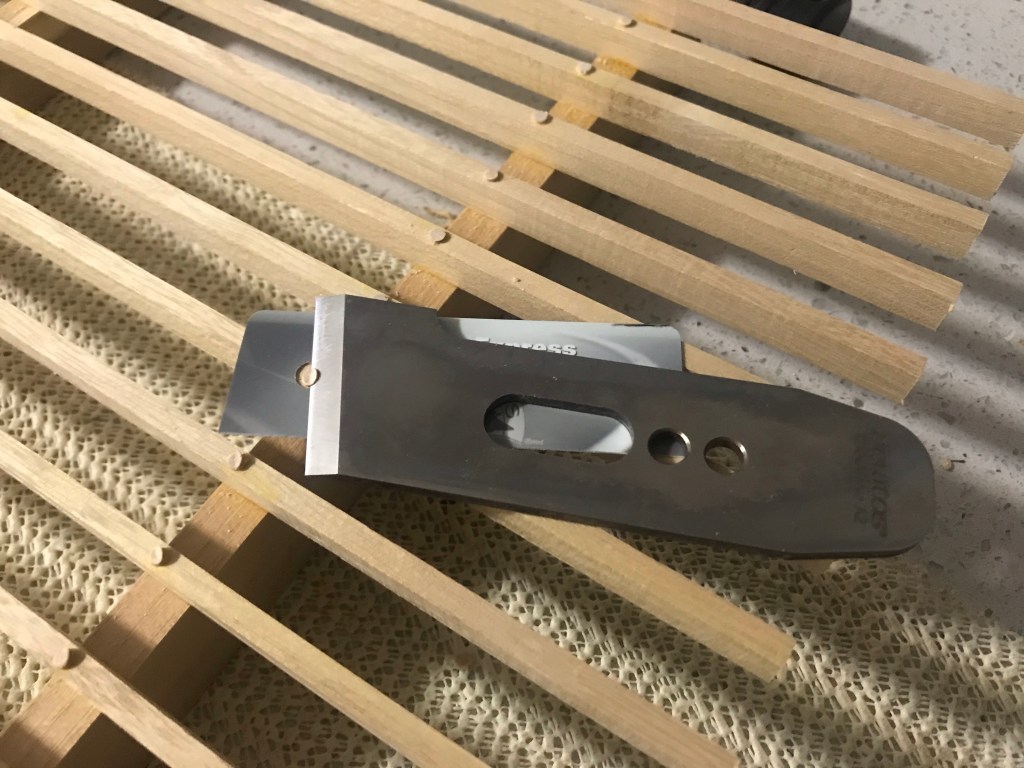
Many of the 50 dowels I had to trim were in the middle of a surface and the handles of my chisels would have prevented the blade from laying flat on the workpiece which would result in the tool wanting to cut down into the workpiece, causing damage. Turning the chisel over so the bevel faces down is nearly as likely to cause damage. Special flushing, or cranked neck chisels would have worked, but I do not own any. Instead, I grabbed a skew block plane blade and used it like a big chisel without a handle.
In this picture, I have a plastic shim under the plane blade as I initially wanted to trim the dowels consistently proud of the surface.
It worked perfectly and the angle on the blade made the work a little easier. However, at just 1/8” thick, it was a little difficult to hold or pick up. Since the blade was a spare (I had no plane body to use it with), I decided that dedicating it to flushing duties was a good idea.
Looking through my selection of shorts, I found a beech 2” square that seemed ideal. I carefully laid out a profile to register the blade. I removed most of the waste with a router and fine-tuned the fit with a chisel and knife. I also bored two holes in the body to accept 1” and 1/2” rare earth magnet to attach the steel blade.
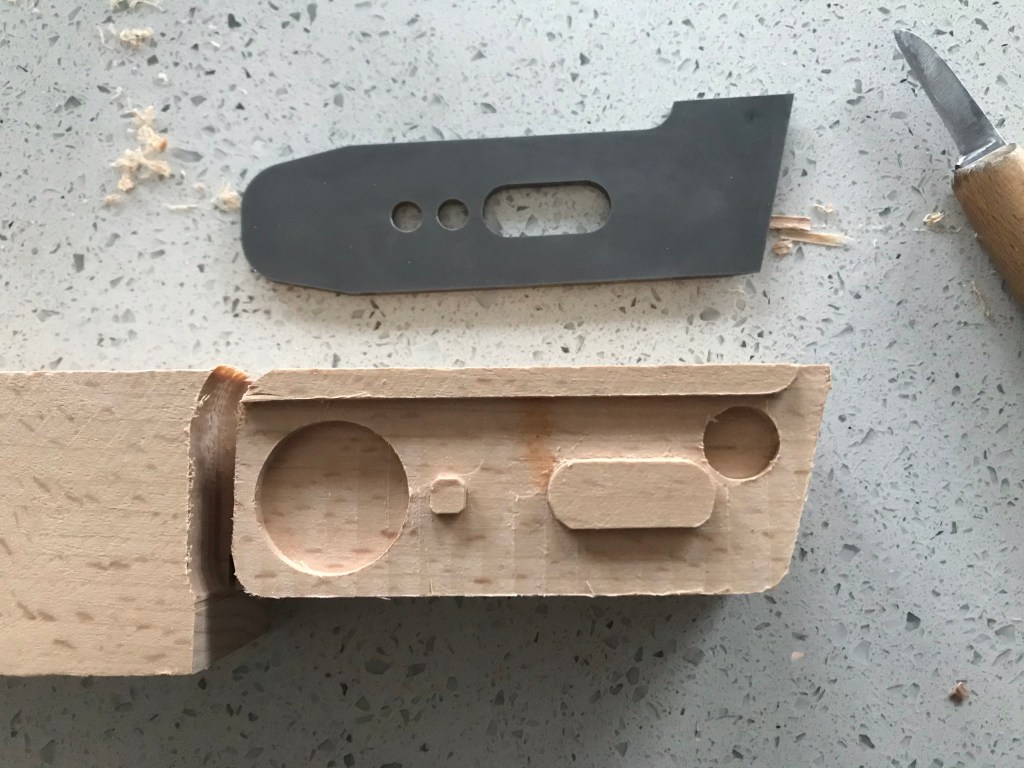
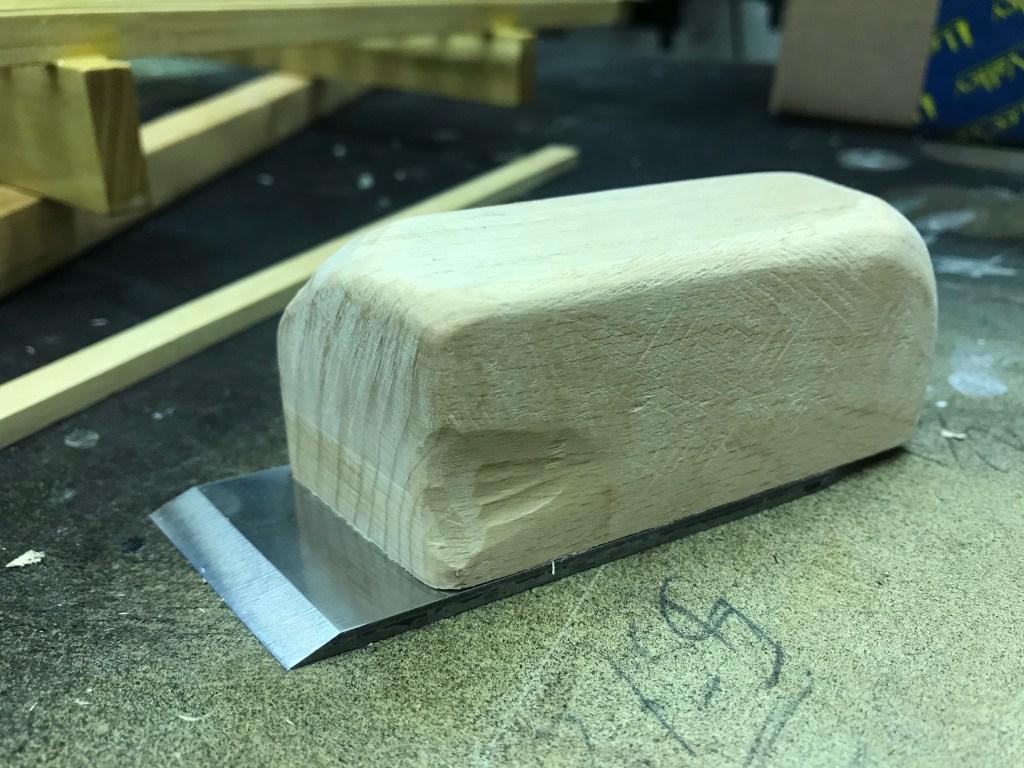
I separated the body and then the fun began – shaping. Using a coarse, hand-stitched half-round rasp and a few carving gouges, I gradually worked to shape the block to fit my hand.
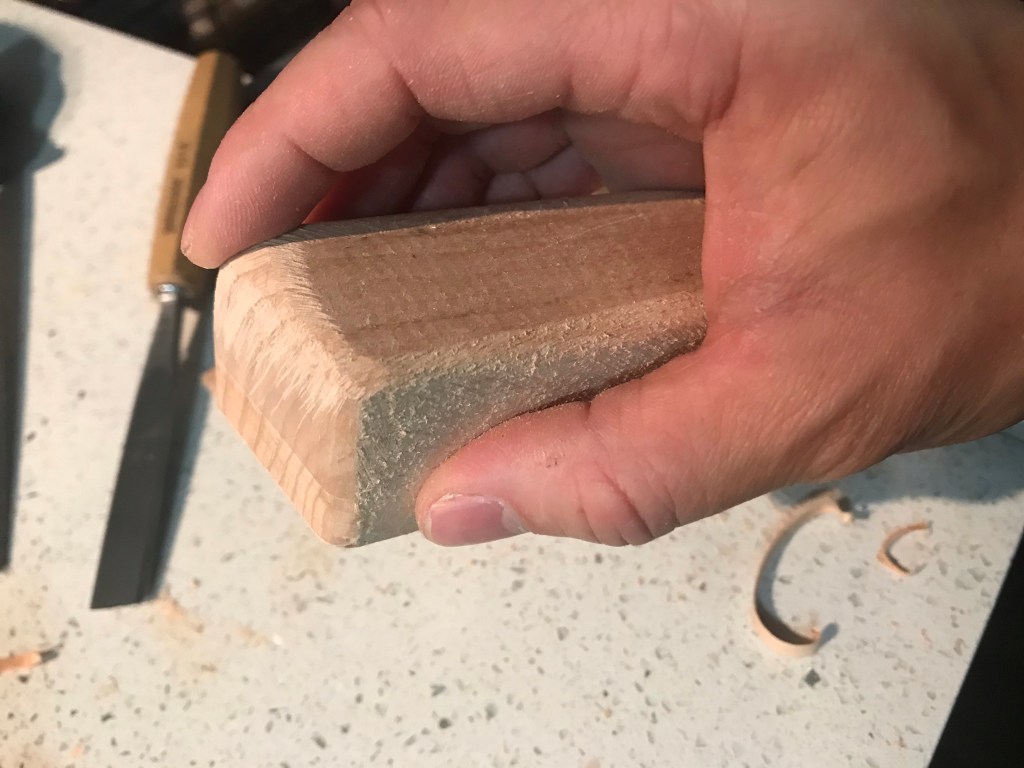
For things that live in your hands, how it feels is more important than how it looks. I stopped frequently and held the body in my hand to gauge my progress and figure out where more material needed to be removed. Sometimes, I closed my eyes so I could focus on the feel.
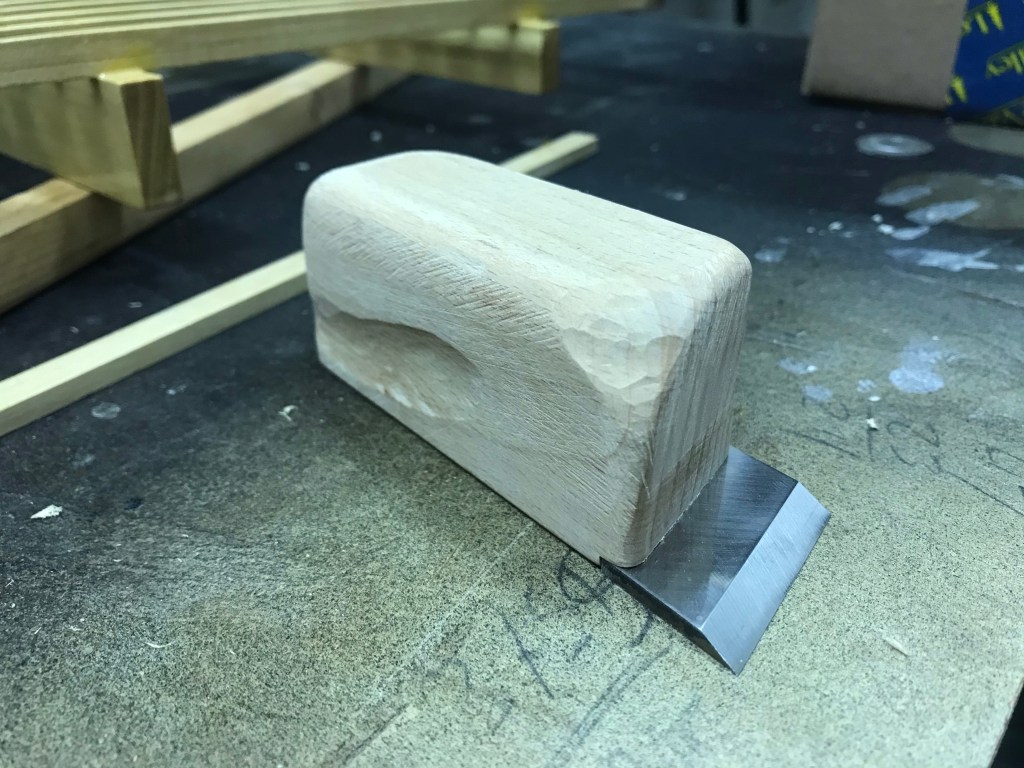
One thing that I observed while trimming with the blade was that I wanted to pick up the blade after every cut, but there wasn’t much to grasp. I carved some grooves into the body to ensure that I had a secure grip on the plane – a flushing plane has a very sharp, low angle blade that is completely exposed!
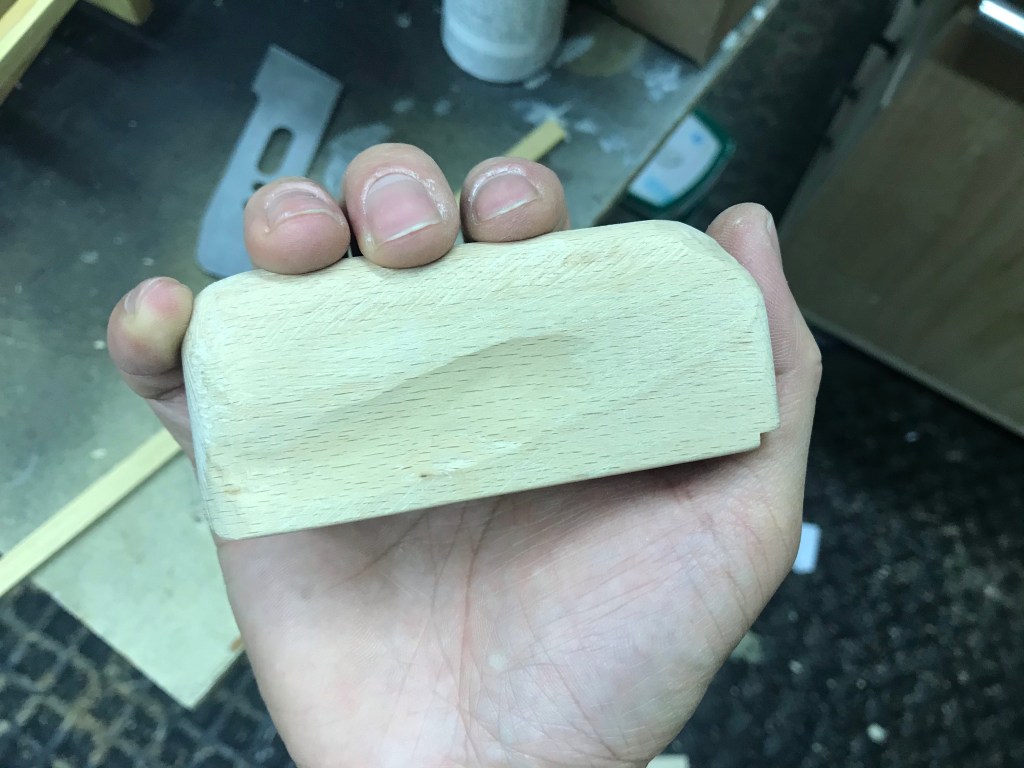
While I could have progressed to sanding, I chose to leave it with a mix of texture from the rasp and smooth facets from the carving gouges. Sanding may have made the plane body more aesthetically pleasing, but it was a tool for my own use and it would not function better with a sanded body. Besides, I could always sand it smooth later.
I finished up by gluing in a 1” rare earth magnet with cyanoacrylate glue and letting it cure for 24 hours before popping in the blade.
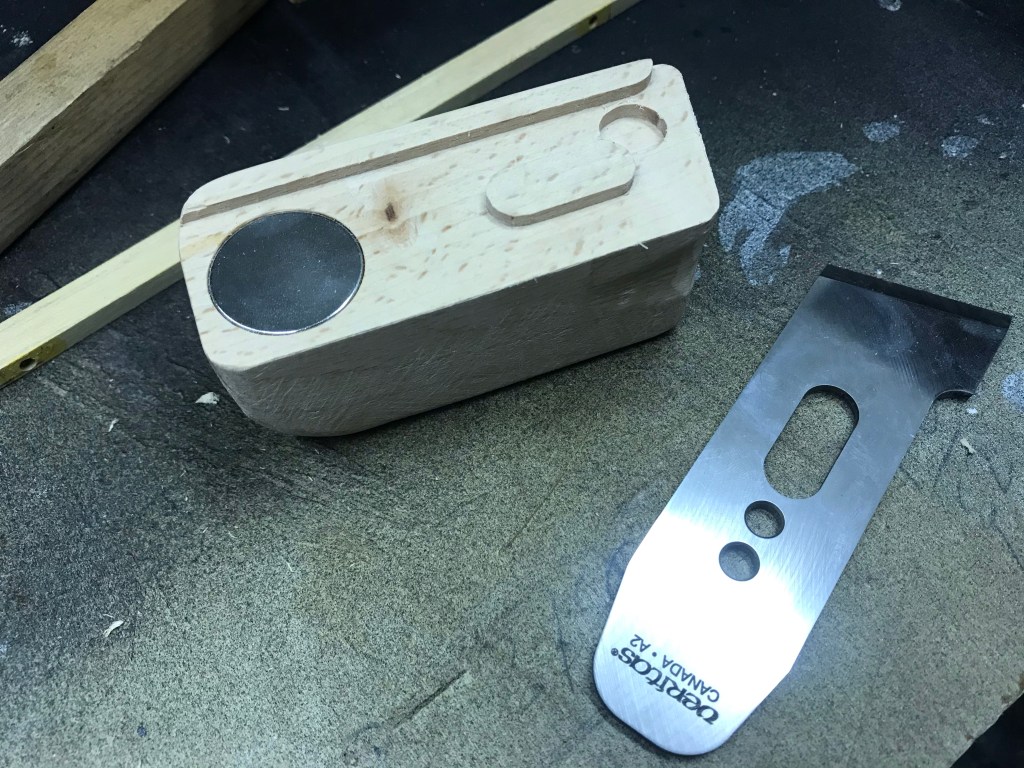
Here is the completed plane. The blade is ground at 15 degrees, in case you were wondering.
Discover more from Products From The Mind of Chris Wong
Subscribe to get the latest posts sent to your email.

I was wondering how you would do this – rare earth magnets are genius! Well done, Chris.
Hi Grant,
I can’t really take credit here, as I was just following the lead of Veritas on the use of a magnet.
I don’t own either one, but how does your flushing-plane differ from a bull-nose plane?
Hi Kam,
Though similar, I consider a bullnose plane and flushing plane significantly different. Most notably, a bullnose plane has a blade whose depth is adjustable relative to the soles of the plane, the centre of gravity is much higher, and the blade is much narrower and doesn’t lend itself well to making a paring cut.
I do not own a bullnose plane (though I do have a shoulder plane with removable toe), but even if I did, I would still welcome a flushing plane to my array of planes.