To see how I installed the CEROS transformer on my Festool CT26 dust extractor, click here.
This article shows how to layout and carve threads in a rubber hose end-piece. However, the same techniques can be used to carve male threads in wood or another material.

The Mirka CEROS (Compact Electric Random Orbit Sander) has a dust extraction port with internal threads that screw directly onto the end of a Festool 27mm hose to prevent it from dislodging accidentally. However, that means the tapered rubber connector on the end of the hose needs to be removed. This is not a difficult procedure but it is not something I want to do every time I switch between the sander and another tool.
I know of four solutions to avoid having to install or remove the connector when using it with the CEROS:
- Jam the connector in and hope it stays;
- Buy another hose and dedicate it to the CEROS;
- Make an adapter using a short length of 27mm hose and some fittings; or
- Cut threads on the connector.
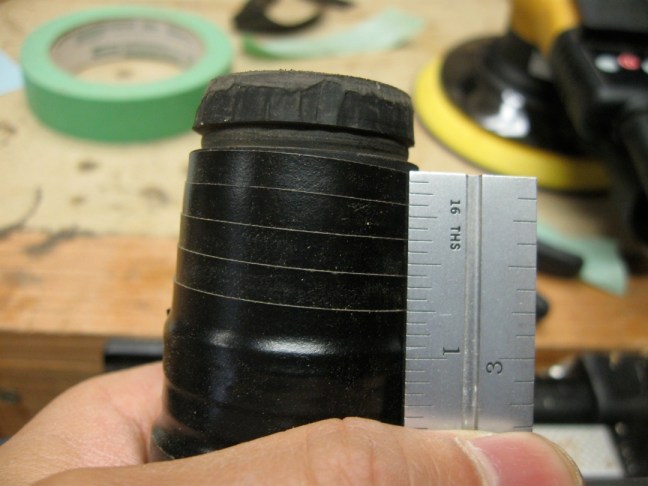
Tired of fighting to get it to stay connected with just a press-fit, I decided to carve threads on the adapter to secure it into the port. I used two carving tools, a rule (double square) and black electrical tape.


Next, I used a V-shaped carving gouge (#12 sweep, 2mm wide) along the edges of the tape to transfer the layout lines through to the connector. Then I peeled off the tape so I could better see the V-cuts.

Following the V-cuts, I used a veining tool (#11 sweep, 3mm wide) to cut the threads.

Finally, I tried to thread the connector into the port. When simply press fit, there was 7/8″ of exposed connector between the first shoulder and port.

Once threaded in fully, only 1/2″ of the connector was exposed between the first shoulder and port. The threads mated very well and there was no chance of the hose disconnecting accidentally. And I was able to still use the hose with other tools without a problem.


“This is not a difficult procedure but it is not something I want to do every time I switch between the sander and another tool.”
I like this attitude in approaching a shop problem.
Nice work!!! Sometimes an inexpensive solution can be the best -UT
It is easiest to solve almost any problem by SPENDING MONEY but is it always the best??? …..or can one acheive more by being creative.
BADGES WHAT BADGES …..I DONT GOT NO STINKING BADGES!!! lol
btw team midnight rainX strikes again …..3 hits HA HA HA