

I know that my posting here has been sporadic at best. From now on, I will strive to make one entry per week. Check back every Monday morning and you should find at least one new post.
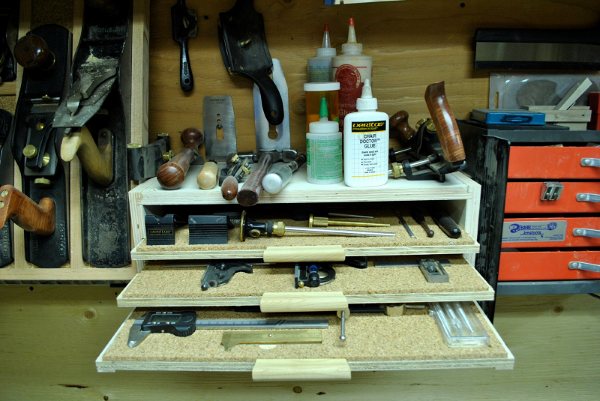
My various marking and measuring tools used to be live all over the shop. I’d find them wherever I last left them – and that was always somewhere where I wasn’t, it seemed. While cleaning and organizing my shop, I decided to build this simple little cabinet to keep my tools together. It sits right behind the vise on my workbench, so I merely have to turn around to access the tools. By using trays instead of drawers, it not only makes construction easier, but also access to the contents – sometimes I don’t even need to pull out the tray.
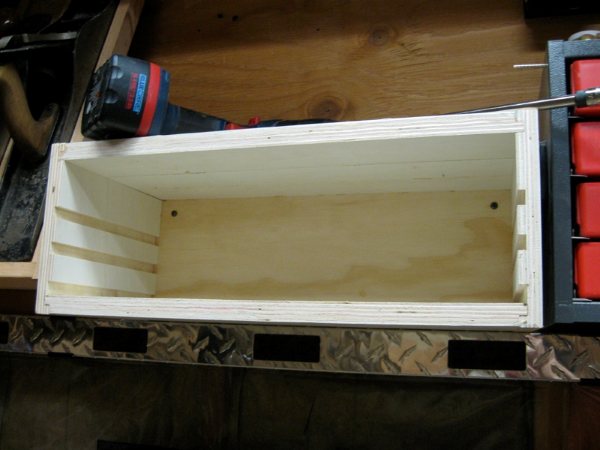
The carcass is simple in construction. I used 3/4″ plywood throughout and dadoes and rabbets for the joints. I used a 1/2″ dado blade to cut the dadoes in the sides to accept the trays. The case is mounted to the wall with two screws driven through the back.
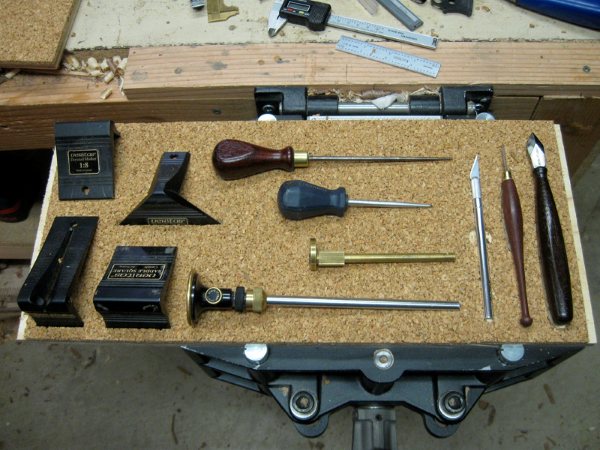
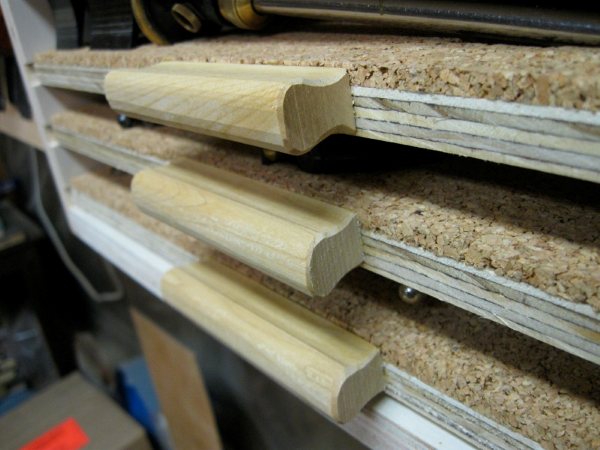
The trays were even easier to make. I used 1/2″ plywood. Being undersized, as most plywood tends to be, it slides well in the 1/2″ dadoes. I cut it to size and attached a layer of 1/4″ cork with contact cement. I then used a knife to make the required cutouts, often just tracing the tools. The cork peeled off easily and I had my easy-to-make french-fitted trays.

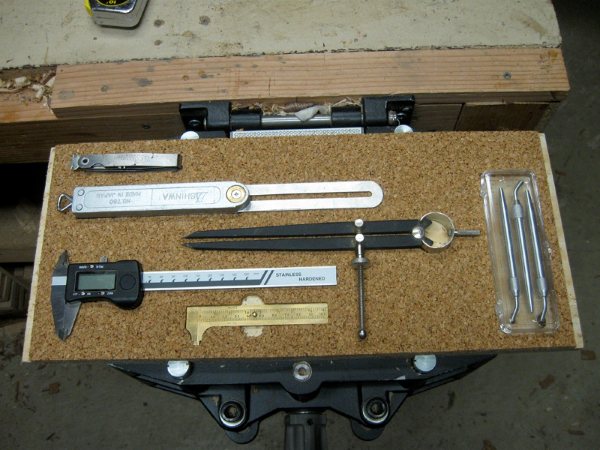
I organized the trays by type of tool – saddle squares and marking tools…
Squares…
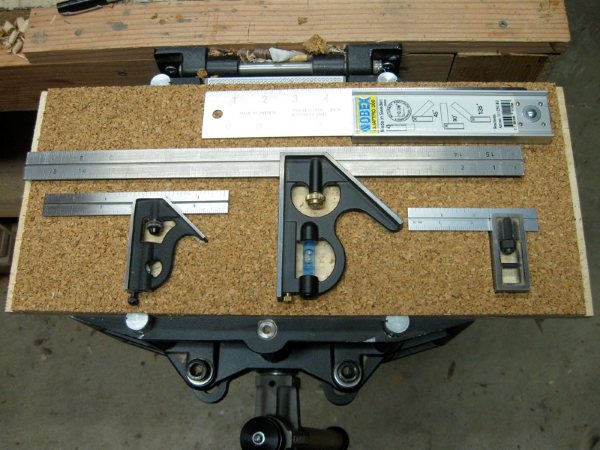
Precision tools…
I used hot hide glue and a rubbed joint to attach hand-made pulls to the fronts of the trays.
Discover more from Products From The Mind of Chris Wong
Subscribe to get the latest posts sent to your email.

Hi Chris
I like your M&M tool cabinet, I am just in the process of making some tool storage for my hand files, they were all just crashing around in the work bench draw so now I am going to remove the draw from the work bench and am making some shallow draws to replace it, I didn’t know whether to glue strips of ply in the draws so the files sat in pockets or just leave the files free in the draw but seeing your idea of using cork as a liner with tool recesses seems a good idea
What CAD package do you use?
I use Catia V5 at work and have a copy at home which I am in the process of modeling up the 12″ parks planer, I have one of the planers but the gearbox is bust so I need to make some parts for it if I get round to it that is.
There is a web site for the old wood working machines, its called OWWM or there is a sister site Vintage Machinery.
I’ve found as I progress through wood working I have developed a keen interest in the machinery side of things, problem is a whole new set of machines are required for it not to mention the space.
Keep up the good work.
Hi Steve,
Cork is nice because it’s soft on tools and easy to cut. I recently built a pair of mobile cabinets and I am working on organizing the drawers with spaces for each of my tools. I used cork again for my marking and measuring tools – I’ll share them in a future blog post.
It isn’t too often that I use CAD to design things, but the program that I use is Rhinoceros 3D.
My approach to tooling is to use whatever I deem most efficient for the work being done.
Chris