

This project actually started over eight years ago, but in a very different form.
While down in California working a trade show for Lee Valley, the crew and I made a detour to Sam Maloof’s house in Alta Loma. We got a very inspirational tour of the very unique house which he had built for himself and left me very inspired to make a sculpted chair.
I bought a copy of Sam Maloof, Woodworker which Sam signed for me. Unfortunately, I didn’t have the opportunity to meet him.

Back home, I started by making a maple seat. I beveled the edges of four boards and glued them together to create a blank curved to the approximate shape of the seat, then sculpted it with my Arbortech carbide wheel on a grinder, and sanders. That’s as far as the chair progressed until I rediscovered it when I was cleaning out my old workshop earlier this year.
To turn the chair seat into a stool seat, I needed to shape it further. The chair required square edges to join into the frame members, but the stool seat was designed to be supported differently.
Curved workpieces have always been challenging to hold securely while working them, but that task was greatly simplified by using the Festool VacSys Vacuum Clamp at my workplace, Ultimate Tools.
To make the seat look less bulky, I wanted to thin out the seat towards the edges. I started with a jigsaw, tilted at a 45 degree angle, followed by sanders.

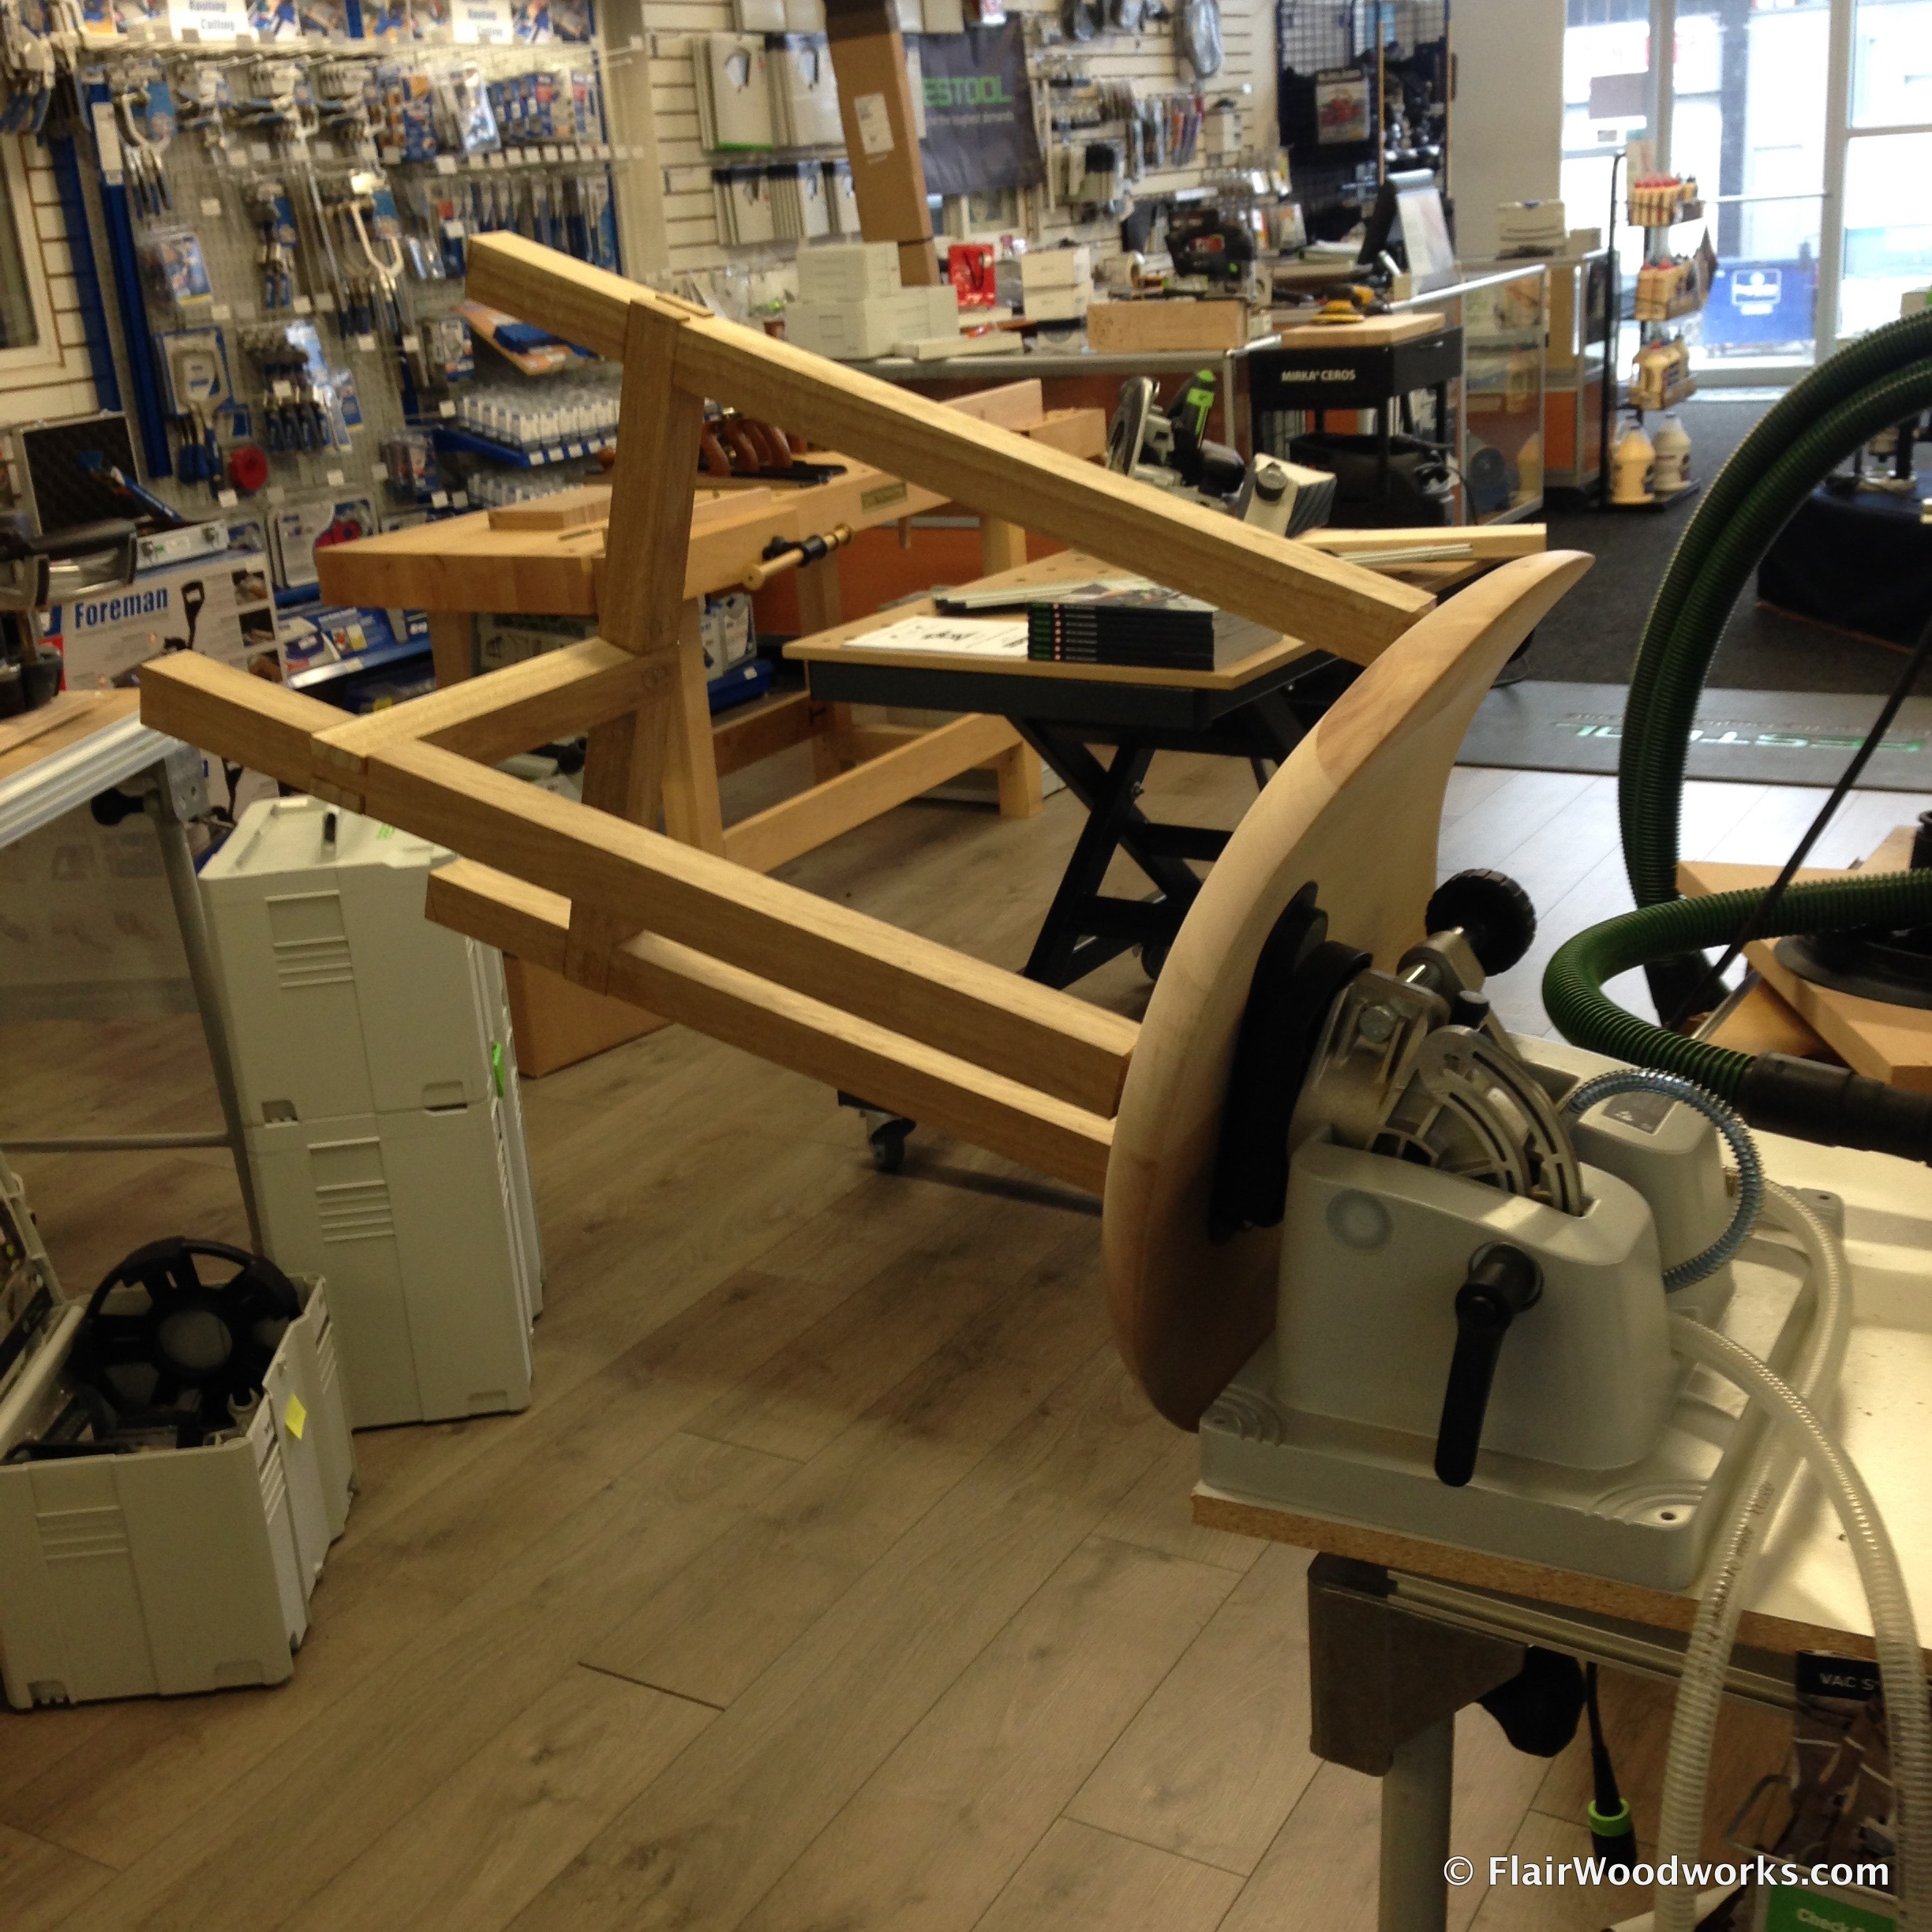
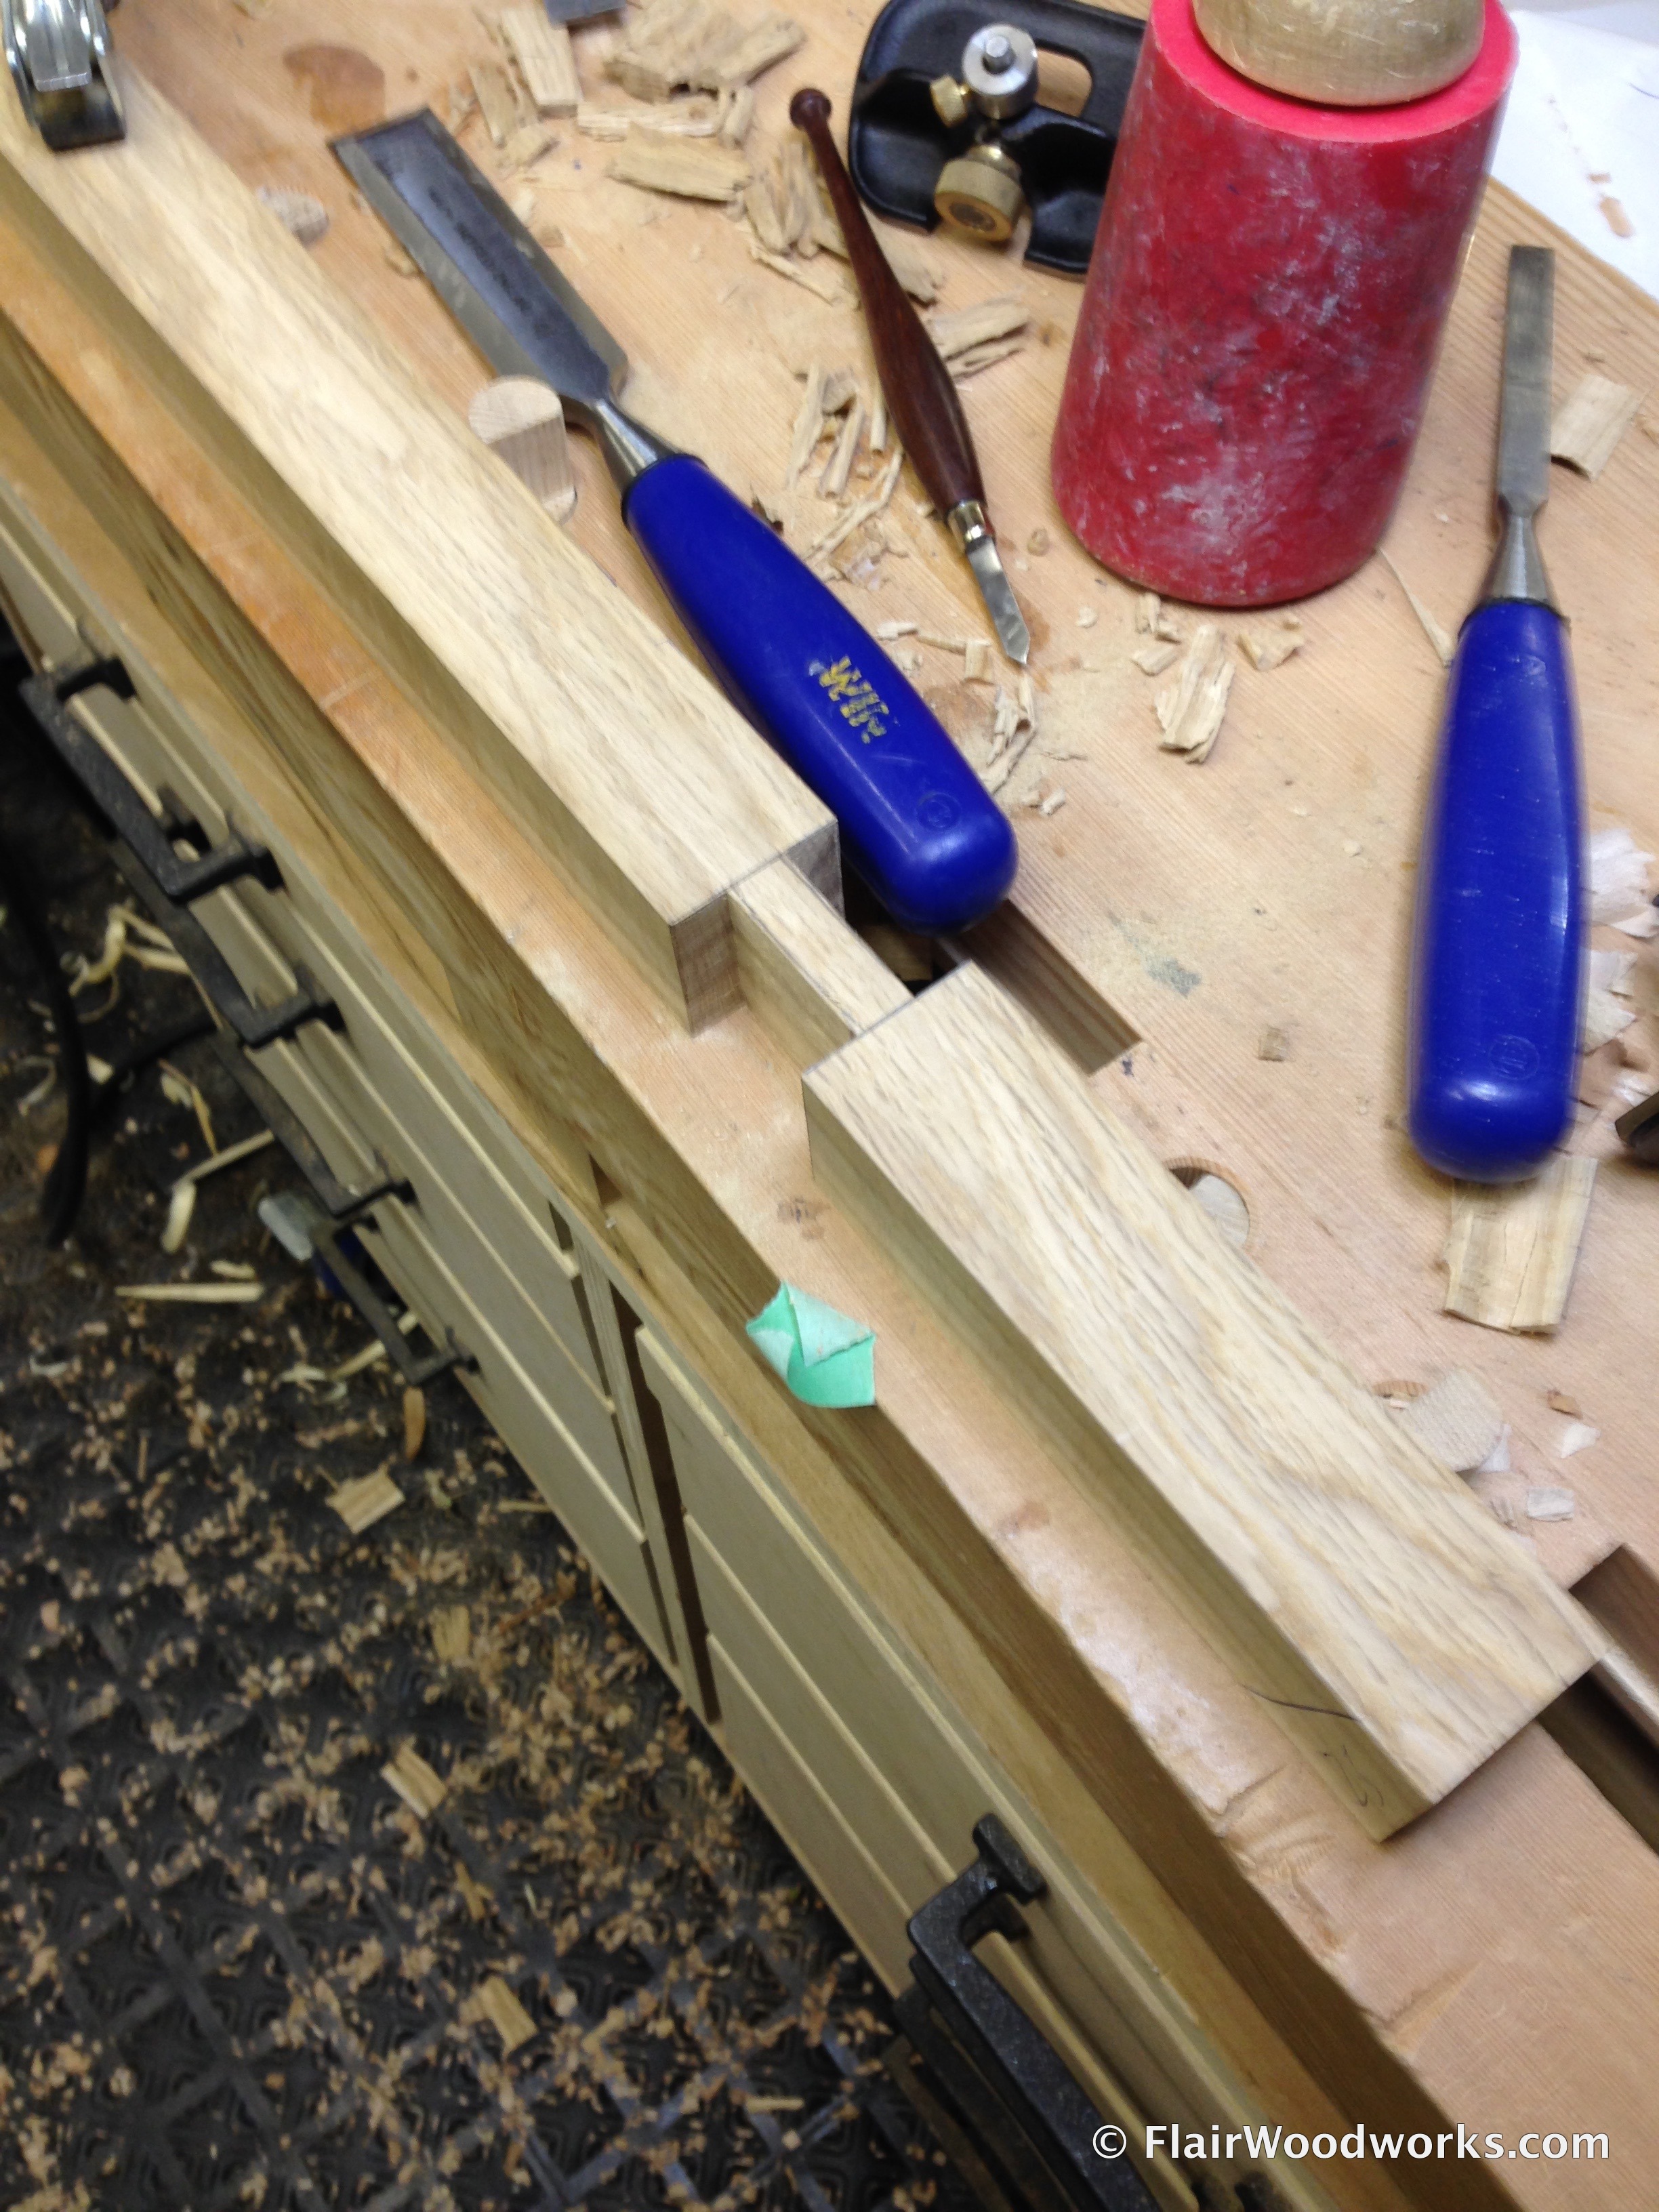
I designed a simple base and selected a suitably-sized board of Gary oak that I had bought years ago. I milled it into square sections and cut them to length to make three legs and two stretchers. I cut the angled dadoes by hand, and cut the mating open mortises with my table saw.

With carving gouges, I shaped round tenons on the tops of the three legs. I paused to admire the polished surface on the tenon shoulder left by my sharp tools. Then I assembled the base to locate where mating holes needed to be drilled in the underside of the seat.

It have always found it satisfying to push together a well-fit joint. Or four. Or seven. It was a little nerve-wracking pounding the leg tenons into the holes in the seat, wondering if anything would crack. Nothing did.

I used the VacSys to hold the stool for a final sanding before applying a couple of coats of oil-based polyurethane.

And here’s the finished result.


Discover more from Products From The Mind of Chris Wong
Subscribe to get the latest posts sent to your email.

Great looking stool. I like the contrast between smooth sculpted seat and rectilinear base. Also it looks like that Festool vacuum clamp is impressive.
Thanks, Jeremy. Yes, vacuum clamps are great. The Festool one is easy to position work any way required.
Chris