
")
Note: Before you get into the article, check the date on which it was published. This other article discusses how I flatten large pieces of wood without machinery.
If you read just one article about woodworking, this should be it.
On the forums I frequent, I often see the question asked: “should I buy a jointer or planer first?” Well, I’m going to settle this once and for all. YOU DO NOT NEED A JOINTER. They are big and heavy so they take up lots of valuable shop space. What’s more, they are finicky to adjust, expensive, and most importantly, UNNECESSARY!
(And no, I’m not going to tell you to use a hand plane. Hand planes are relics of a past era and best used as paperweights. Anyone knows that power tools are the way of the future and it is ridiculous to surface stock by hand. What a waste of time! Surely you have better things to do… like read my blog.)
So just how to you flatten a board without a jointer? It’s easy. The first thing I do is identify which way the board is bowed/cupped/twisted. Twisted boards are the toughest to flatten. Bowed boards are the easiest to flatten. I lay the board on my flat benchtop and use a machinist’s straight edge accurate to 0.0001″ to confirm that the convex side of the board is facing up.

Mark the point of the board that is the highest off the benchtop. I use chalk to mark the location because it works well on rough lumber, is easy to see and does not penetrate the wood fibers like markers do.

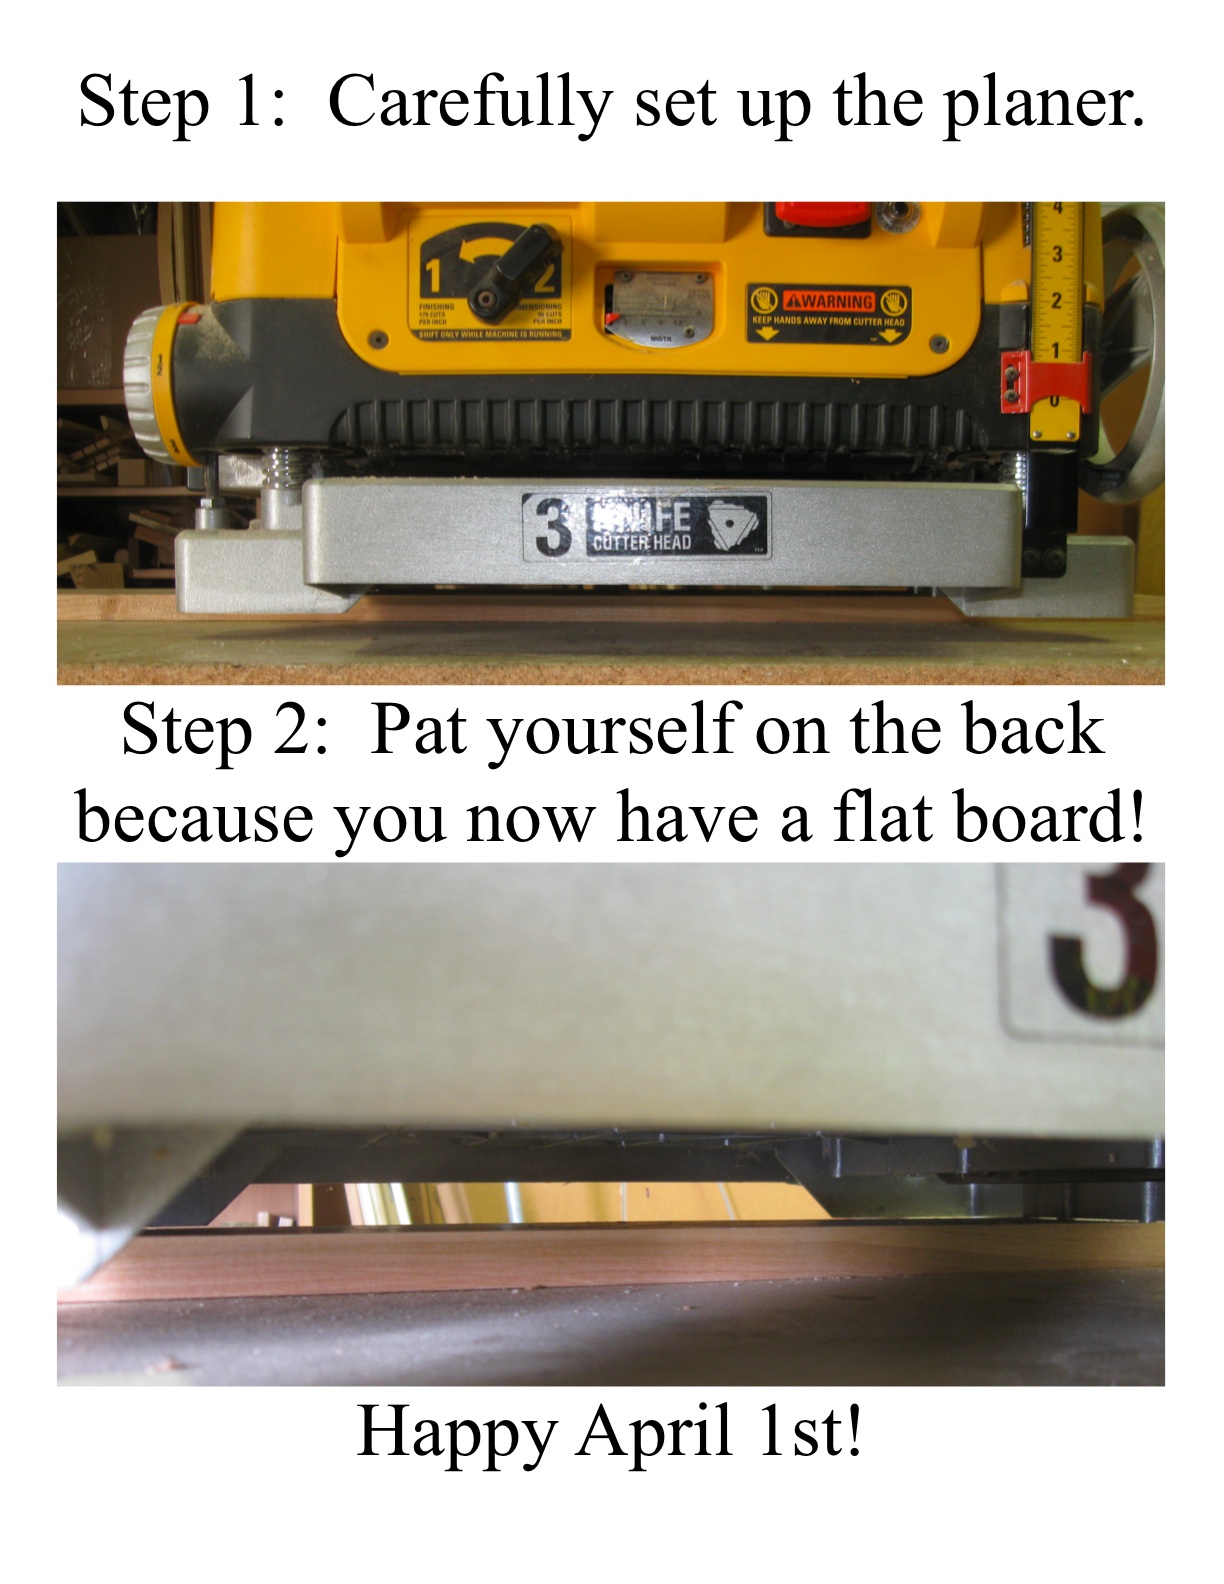
Then, I drag out my benchtop planer. My benchtop planer weighs 92 lbs and that is crucial to its effectiveness. Important: if you have difficulty handling a machine this heavy, recruit a helper or two; the goal is to flatten the board, not yourself. Now this is the critical part. If you can’t successfully complete this step, all the previous ones were for nothing. It’s actually quite simple and if you fail to do this step, you should call it a day.
This is the biggest trick I have up my sleeve and I am going to share it with you. Now, I don’t want this to become a trick that every woodworker knows because, frankly, not everyone deserves to know it. But you do. Why? Because you have a passion for woodworking just like I do. And you read my blog. To make it harder for search engines to pick up on my ground-breaking, paradigm-shifting, life-altering, mind-shattering tip, I’ve chosen not to embed it in this post and instead ask you to make one simple click to learn this trick.
Thanks for reading. Remember – you read it here first!
Discover more from Products From The Mind of Chris Wong
Subscribe to get the latest posts sent to your email.

That’s amazing. I promise (fingers and toes crossed) never to share the information with another soul!!
I’ve used your method of flattening a board in a gluing procedure. But I do think it’s best for flattening because there’s no worry of any glue spill onto the planer. I know I don’t need a dedicated jointer!
Awesome.. consider me a fan!
Son of a gun – you caught me!
I couldn’t get to the linked .pdf–perhaps there’s an error?
Josh,
Thanks for letting me know. It’s fixed now.
Chris
I was hoping it would be something like that. Well played.
What a fabulous post. Reading this made my day fo sure. I totally love your blog. Happy April Fools Day to everyone!
[The happiness of this comment has been enhanced by ChrisHasFlair]
Heh heh heh! Nice enhancement :)
Seriously? I was thinking of skimming on a jointer… sigh.
April fools!
Seriously, I do plan on writing a post with legitimate options to flatten a board without a jointer.
Chris
I was looking at your blog on flattening the maple trestle table. You are using blue grid lines with straight edge and winding sticks to do the leveling. I know about the winding sticks but wondering how the grid lines are helping you?
Bucho,
The blue grid lines are similar to scribbling with a pencil. The sole of the plane helps the cutter span the low spots and remove the high points. The low spots remain untouched and the blue chalk makes them easy to recognize.
Chris