

On the morning of Sunday, April 15th, Morton and I exchanged ideas about trestle tables, spurred on by a recent sketch of a table on which he was working. That got me yearning to build a trestle table.
I documented my progress live on Twitter which was useful because each update had a time stamp so followers could see the rate at which I progressed. Here is a list of the previous Sessions:
Session 1 – Flat Boards are Boring;
Session 2 – Playing with Slabs;
Session 3 – From Two Slabs to One Table Top;
Session 4 – Clamping Odd Shapes and Sketching on Wood;
Session 5 – Routing Pockets for Battens;
Session 6 – Making Battens and Installing Countertop Connectors;
Session 7 – Installing Battens and Flattening the Underside;
Session 8 – Make Your Tools Work for You and Flattening the Top;
Session 9 – Mortises the Slow Way (or Why I’m Buying a Domino XL);
Session 10 – Curvy Legs are Always Good;
Session 11 – Straight Lines on Wonky Surfaces;
Session 12 – Fitting the Mother of all Mortise & Tenon Joints; and
Session 13 – Making Things Better, Worse, then Better.
(If you are not familiar with the format used on Twitter, every update, or “tweet” below starts with a username, being the author of that tweet. Sometimes, you see two or more usernames in a tweet. The second (and third, etc) usernames are preceded by a @ symbol and are people to whom the author is talking. The other symbol you see is #, which serves as a category. I try to remember to categorize all my tweets pertaining to this project under #flairww.) 
FlairWoodworks Today, I’m going to continue work on the Maple Trestle Table. Follow along! #flairww -12:25 PM May 9th, 2012
FlairWoodworks It’s so nice to be working in a clean shop! #flairww -12:27 PM May 9th, 2012
FlairWoodworks Here’s a picture of the clean shop! #flairww -12:30 PM May 9th, 2012

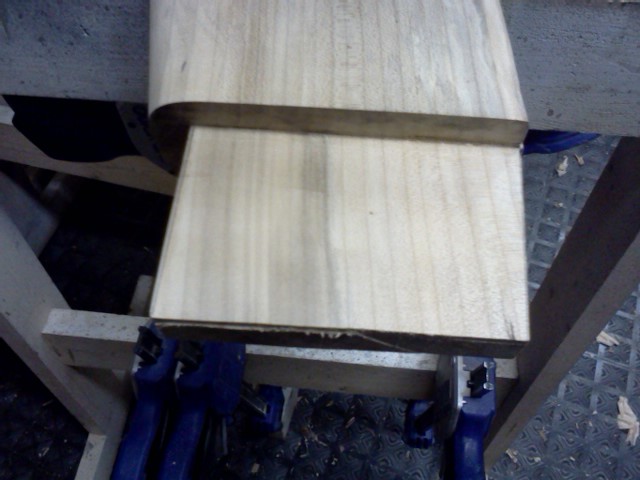
FlairWoodworks Since I messed up one batten last session, I’m going to remake it with this maple. #flairww -12:31 PM May 9th, 2012

FlairWoodworks Actually, I’ll probably remake them both so they are physically identical and with similar grain and colour. #flairww -12:32 PM May 9th, 2012
FlairWoodworks The more I look at this board the less certain I am that it is maple. I think it’s birch. #flairww -12:34 PM May 9th, 2012

WatkinsWoodWork @FlairWoodworks It’s too clean… -12:34 PM May 9th, 2012
FlairWoodworks Right you are! #flairww RT @WatkinsWoodWork: @FlairWoodworks It’s too clean… -12:34 PM May 9th, 2012
FlairWoodworks I’ve got more maple in the corner. All the way back in the corner. #flairww -12:36 PM May 9th, 2012
 malphrusoxide @FlairWoodworks i know that game, ha ha. -12:38 PM May 9th, 2012
FlairWoodworks I was very lucky to find this straight-grained piece of maple behind only a few other slabs. #flairww -12:38 PM May 9th, 2012

FlairWoodworks Nobody else is home today so I get to crank @HailTheVillain! #flairww -12:42 PM May 9th, 2012
FlairWoodworks The slab is about 14″ wide. I could either take 28″ off one end or 3″ off the back. #flairww -12:46 PM May 9th, 2012

FlairWoodworks Thinking about future use for the slab, it makes more sense to take a strip off the back. #flairww -12:48 PM May 9th, 2012
FlairWoodworks The slab is a little longer than my sliding table saw can handle, so I’ll use a circular saw. #flairww -12:49 PM May 9th, 2012
FlairWoodworks I’m set up to make the cut. #flairww -12:53 PM May 9th, 2012

FlairWoodworks I got this circular saw for my 16th birthday. #flairww -12:56 PM May 9th, 2012

FlairWoodworks Off to the jointer. #flairww -1:01 PM May 9th, 2012

FlairWoodworks The dust collector works so much better since I emptied it. #flairww -1:24 PM May 9th, 2012
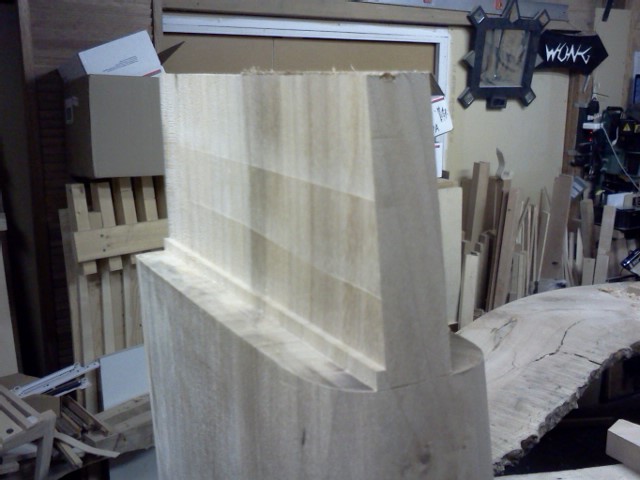
FlairWoodworks I’ve set up my router table to rout the shallow rabbets in the underside of the battens. #flairww -1:34 PM May 9th, 2012
 FlairWoodworks The rabbets are now routed. #flairww -1:43 PM May 9th, 2012

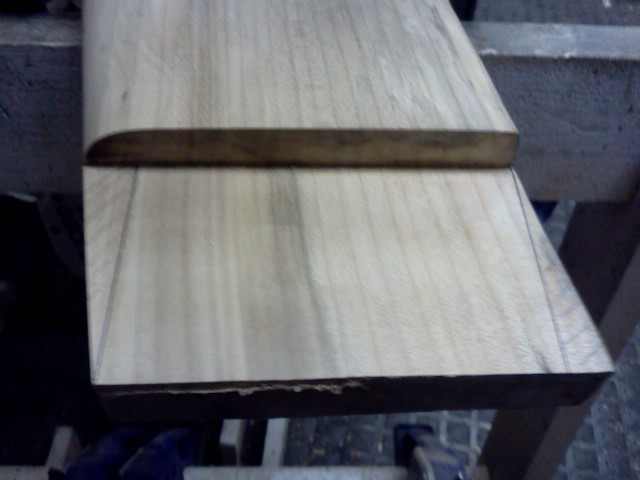
FlairWoodworks I’ve switched to a chamfer bit and installed a starter pin. #flairww -1:56 PM May 9th, 2012

FlairWoodworks The starter pin is an important safety feature that gives me leverage and control over the workpiece. #flairww -1:58 PM May 9th, 2012

McPhersonDoug @FlairWoodworks That’s cool! Looks like that could even be the original power cord [on your circular saw] too! No splices covered by electrical tape or anything. -2:04 PM May 9th, 2012
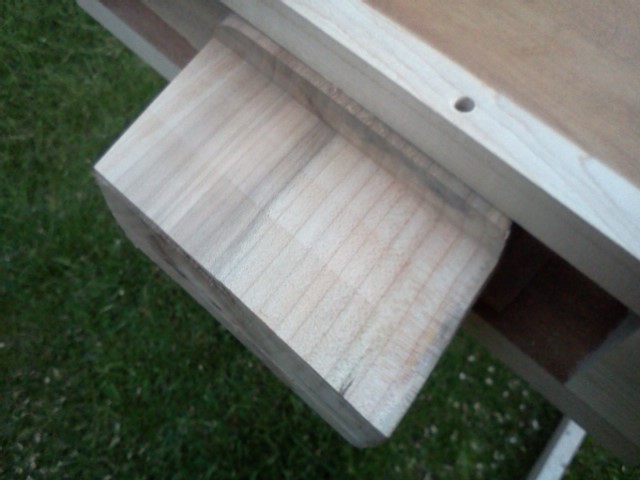
FlairWoodworks I routed chamfers on the other side of the battens. #flairww -2:09 PM May 9th, 2012

FlairWoodworks The new battens are bigger and nicer looking than the first ones. #flairww -2:10 PM May 9th, 2012

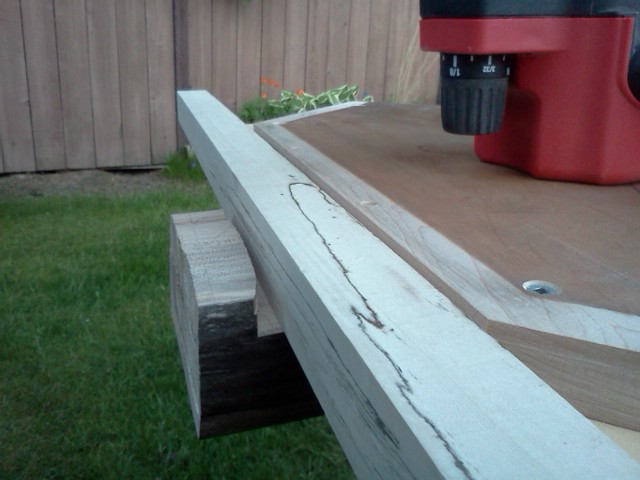
FlairWoodworks I used a square to transfer the location of the holes in the battens. #flairww -2:12 PM May 9th, 2012
 FlairWoodworks Like new! RT @McPhersonDoug: @FlairWoodworks That’s cool! Looks like that could even be the original power cord [on your circular saw] too! -3:01 PM May 9th, 2012
FlairWoodworks I took a 2-hour break to finalize a post for Time Warp Tool Works. We now return to regular programming… #flairww -4:08 PM May 9th, 2012
FlairWoodworks The new battens are drilled and ready to install. [Though they appear to be different lengths, they are actually identical.] #flairww -4:35 PM May 9th, 2012

FlairWoodworks Another interruption – my mother, @WiseSisterFay, wants some help making a display for a show tomorrow called Your Wellness Day. #flairww -4:37 PM May 9th, 2012
FlairWoodworks I’ve got both the battens installed now. I like how they look. #flairww -5:04 PM May 9th, 2012

FlairWoodworks I’m spending some quality time with my hand plane and cleaning up the routed chamfers. #flairww -5:10 PM May 9th, 2012

FlairWoodworks I’ve cut one mortise and tenon joint between the legs and stretcher. #flairww -5:22 PM May 9th, 2012

FlairWoodworks I need to tune the tenon’s shoulders so the stretcher meets the leg without any gaps. #flairww -5:24 PM May 9th, 2012

FlairWoodworks I used a utility knife blade and shim to scribe a line around the stretcher. #flairww -5:30 PM May 9th, 2012

FlairWoodworks Now I just need to trim the shoulders to the knife line. #flairww -5:35 PM May 9th, 2012

FlairWoodworks As I work, I use the stock of my double square to check that the shoulder is square or undercut. This needs work. #flairww -5:44 PM May 9th, 2012

FlairWoodworks I’m happy to have one mortise and tenon joint fit! Now it’s time for #woodchat #flairww -6:03 PM May 9th, 2012
FlairWoodworks Looks good! #flairww -6:05 PM May 9th, 2012

woodshaver101 @FlairWoodworks when’s that table going to be done? Cant wait to see it on its legs #woodchat -6:09 PM May 9th, 2012
FlairWoodworks Same here! #flairww RT @woodshaver101: @FlairWoodworks when’s that table going to be done? Cant wait to see it on its legs #woodchat-6:09 PM May 9th, 2012
FlairWoodworks I used to think that everything had been done. Now I know that’s not true. I like to do things that haven’t been done previously. #flairww -6:10 PM May 9th, 2012
DozersWorkshop @FlairWoodworks coming along nicely! -6:20 PM May 9th, 2012
FlairWoodworks I’m really happy with how it is progressing. RT @DozersWorkshop: @FlairWoodworks coming along nicely! -6:20 PM May 9th, 2012
FlairWoodworks @uppercutwood You can’t find what I’m making. Anywhere. #woodchat -6:32 PM May 9th, 2012
uppercutwood @FlairWoodworks I can find it on twitter! #flairww #woodchat -6:33 PM May 9th, 2012
FlairWoodworks You got me. RT @uppercutwood: @FlairWoodworks I can find it on twitter! #flairww #woodchat -6:33 PM May 9th, 2012
FlairWoodworks This is where I left off before #woodchat and dinner. #flairww -7:37 PM May 9th, 2012

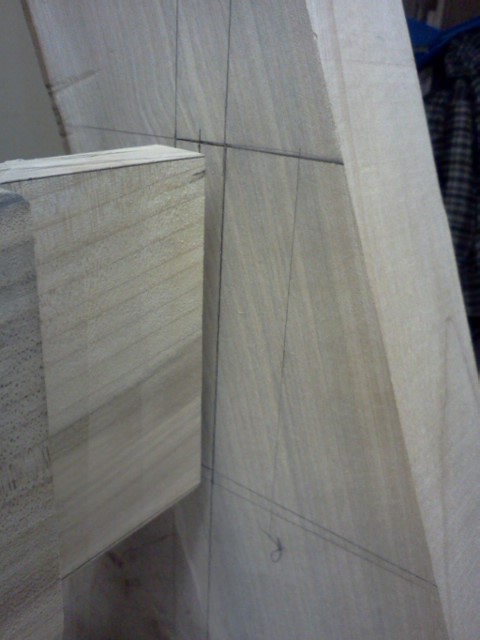
FlairWoodworks I used a level to extend layout lines representing the stretcher across the leg. #flairww -7:44 PM May 9th, 2012

FlairWoodworks I also marked the position of the leg on the stretcher (the two fine lines). #flairww -7:45 PM May 9th, 2012

FlairWoodworks I am intimidated by this tenon. There are so many angles and so few reference surfaces. #flairww -7:56 PM May 9th, 2012
FlairWoodworks Oh yeah, and not one of the reference surfaces is flat, or even concave. #flairww -7:58 PM May 9th, 2012
FlairWoodworks I crosscut the stretcher 1/4″ overlength. #flairww -8:05 PM May 9th, 2012

FlairWoodworks I needed to shim my tenoning jig to get it aligned properly.#flairww -8:13 PM May 9th, 2012

FlairWoodworks Using the jig as a guide, I scored the shoulder line with a chisel. #flairww -8:15 PM May 9th, 2012

FlairWoodworks To provide support for the router at the end of the tenon, I routed a dado and taped in a scrap of wood. #flairww -8:26 PM May 9th, 2012
FlairWoodworks I routed to depth at the end then removed the support piece to finish routing to the shoulder. #flairww -8:29 PM May 9th, 2012

FlairWoodworks The cheek is much cleaner than the tenon on the other end. #flairww -8:31 PM May 9th, 2012
FlairWoodworks I only have two template bits. Something in between these two sizes would be nice. #flairww -8:40 PM May 9th, 2012

FlairWoodworks My big template bit was too long to make the cut while referencing off the jig so I used the smaller one. #flairww -8:41 PM May 9th, 2012
FlairWoodworks However, the smaller bit wasn’t long enough to complete the cut. #flairww -8:41 PM May 9th, 2012

FlairWoodworks The second cheek is done. #flairww -8:58 PM May 9th, 2012

FlairWoodworks I need to finish cutting the shoulder and make the two end cuts. #flairww -10:01 PM May 9th, 2012
FlairWoodworks I’ve finished the shoulder and laid out the remaining cuts.#flairww -10:01 PM May 9th, 2012
FlairWoodworks The tenon is cut. Now to lay out the mortise. #flairww -10:02 PM May 9th, 2012
FlairWoodworks I’ve got the mortise laid out on one side. #flairww -10:02 PM May 9th, 2012
FlairWoodworks I’ve transfered the layout of the mortise to the other side. I’ll cut the mortise tomorrow so I’m done for today. #flairww -10:13 PM May 9th, 2012
Next session, I’ll cut the mortise and the joint fit!
Got something to say? You know what to do!
Discover more from Products From The Mind of Chris Wong
Subscribe to get the latest posts sent to your email.

I missed the part of the batten being part of the trestle. I understood it to be your temp connection to keep the boards flat and untwisted. Are you mounting the legs to the sides of this or directly to the top of it? Do not cover the bolt heads up as shown in the picture above. Everything shrinks and they will need to be tightened, esp if moved to a different clime like the desert.
I like the new battens. Nice stock for them and the beefier size looks good under that table. Like the technique for the shim and blade to mark the cut line.
(Hi, Morgan!)