My next project is a commissioned loft bed for a child. It has a set of stairs up to the bed on one side and a slide down from the other side. There will be drawers in the side of the stair case and the top will be draped with cloth to complete the canopy. This project will also be featured in an upcoming issue of Canadian Woodworking.
I documented my progress live on Twitter which was useful because each update had a time stamp so followers could see the rate at which I progressed.
Catch up on the build. Read Session 1, 2 and 3.
FlairWoodworks I’m back in the shop to work on the Child’s Loft Bed. My next step is to cut the canopy rails. -11:53 AM Jul 26th, 2012

FlairWoodworks It’s unfortunate that you can be efficient either with time or materials – not both. -12:05 PM Jul 26th, 2012
luggermatt Sometimes neither….
FlairWoodworks Ha ha ha… yeah…
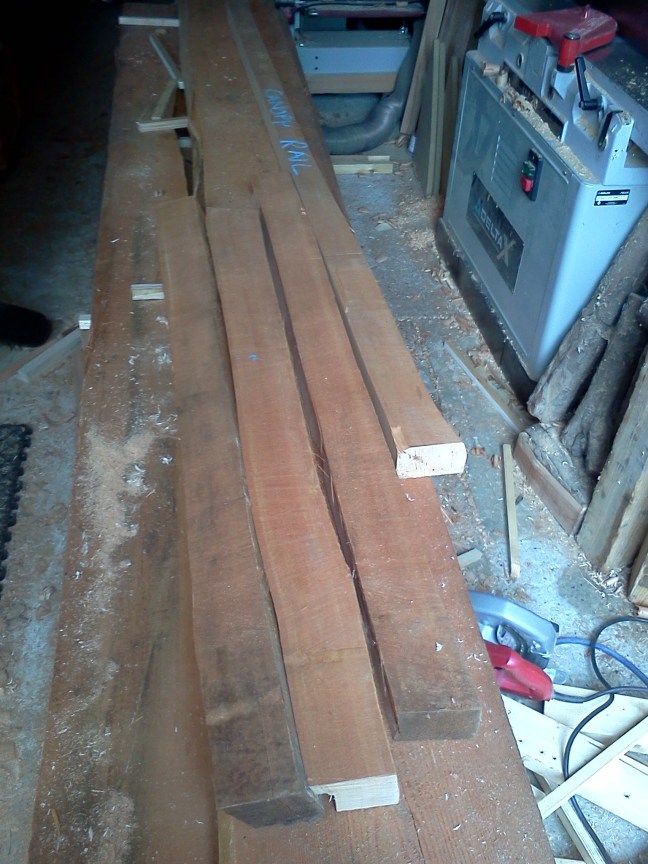
FlairWoodworks They don’t look like much now, but these will be the canopy rails around the perimeter of the bed. -12:13 PM Jul 26th, 2012
 FlairWoodworks I really should check how full my dust collector is… -12:15 PM Jul 26th, 2012
FlairWoodworks Yeah… it’s full. -12:17 PM Jul 26th, 2012
 HalfInchShy I’d laugh, but I’ve done that… :)
luggermatt I have a two bag extractor and both are always full! :-(
HalfInchShy On the positive side, means we’re using our tools :)
luggermatt Indeed it does :-)
DozersWorkshop now put on some gloves, mix some epoxy, and start making some sawdust sculpture!
HalfInchShy Don’t encourage him… :)
DozersWorkshop cmon, Chris can just make his own MDF…
FlairWoodworks That sawdust sculpture idea sounds tempting… and messy.
FlairWoodworks I need to read my own blog more often. 10 Reasons to Empty Your Dust Collector. -12:18 PM Jul 26th, 2012
FlairWoodworks Back in business. When’s the last time you checked your dust collector? -12:37 PM Jul 26th, 2012
josh_ulloa Just now
FlairWoodworks Good man!
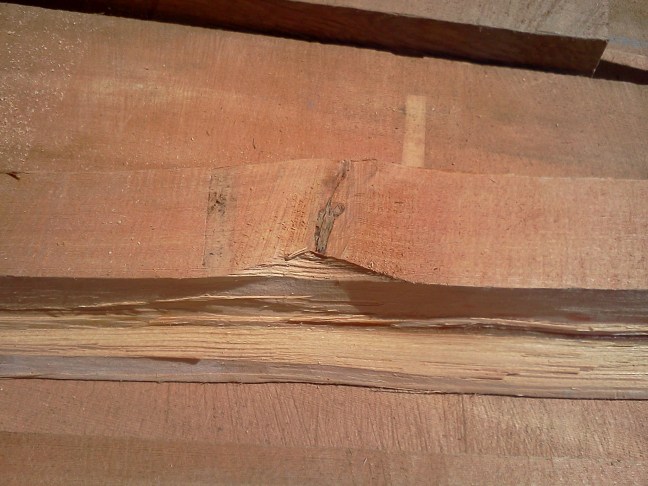
FlairWoodworks This defect wasn’t visible from the other side so I missed it. I need to cut another piece to replace it. -12:51 PM Jul 26th, 2012
FlairWoodworks I’ve prepared material for two canopy rails and am preparing to mortise their ends. -1:24 PM Jul 26th, 2012
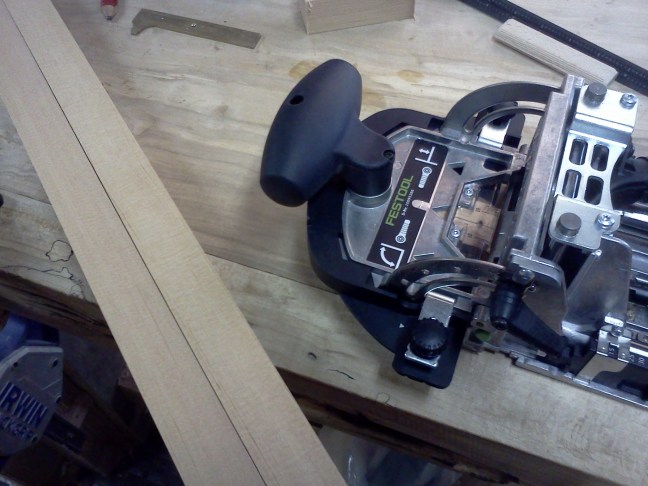
FlairWoodworks With all the rails for the headboard and footboard mortised, I can commence mortising the legs. -1:30 PM Jul 26th, 2012
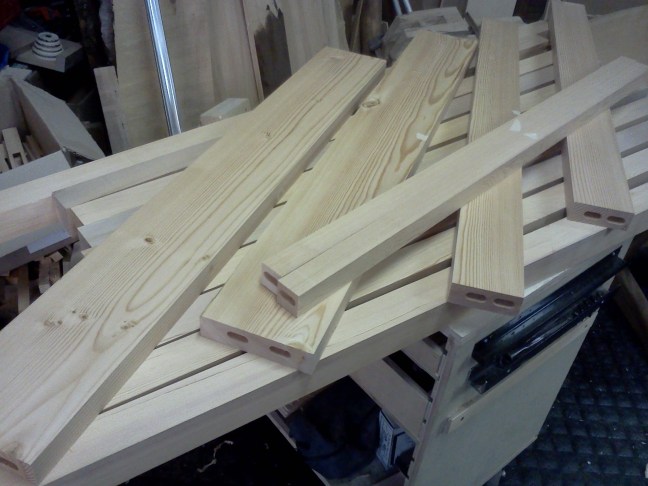
Tooltutor Good ol’ Domino. What kind of hardware will you be using to allow disassembly?
FlairWoodworks The headboard and footboard will be glued up permanently. I’ll probably use bolts and cross dowels for the long rails.
FlairWoodworks Rats. I should have said, “Disassembly? What do you mean?”.
Tooltutor ah, conventional hardware. Had it in my head you might do some kind of giant through tenon to hold it all together.
FlairWoodworks Nice idea, but not for this project. I want to keep it simple and clean.
FlairWoodworks I’ve cut mortises in the posts for the top two rails and I am trying to figure out where to locate the third rail. -1:56 PM Jul 26th, 2012
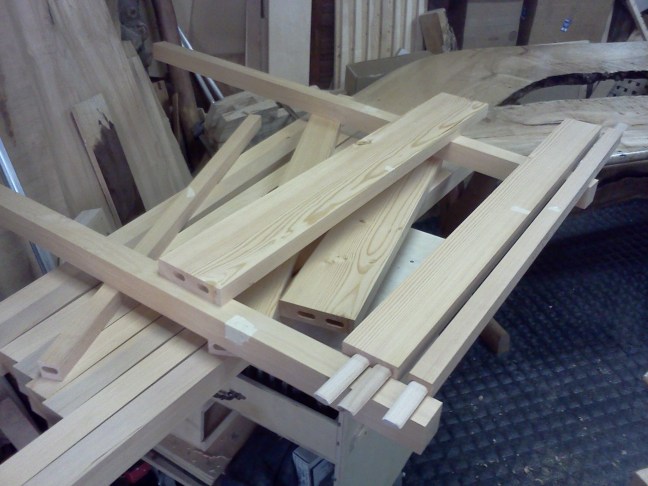
FlairWoodworks The lower rail looks good at this position. -1:58 PM Jul 26th, 2012

RareRepair Nice!!
FlairWoodworks I lined up the posts and drew a guideline across all four posts to ensure uniformity. -2:03 PM Jul 26th, 2012

FlairWoodworks This post is mortised and there are three more posts to mortise. -2:08 PM Jul 26th, 2012

FlairWoodworks Before assembly I want to round over the edges of the canopy rails. -2:17 PM Jul 26th, 2012
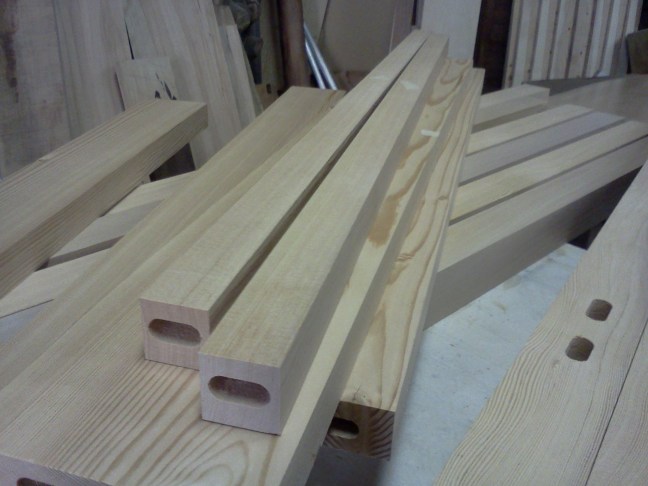
FlairWoodworks It seemed quicker to set up the router table than to use a hand plane so I did that. -2:22 PM Jul 26th, 2012

FlairWoodworks This is a nice profile around which to wrap the fabric canopy. -2:29 PM Jul 26th, 2012

BCcraftmaster Chris, the endgrain looks awesome in the Doug fir
FlairWoodworks Time for a little light sanding before some assembly. -2:35 PM Jul 26th, 2012
FlairWoodworks While sanding, I also eased all the corners. I’ll tidy up a little before assembling the headboard. -2:59 PM Jul 26th, 2012
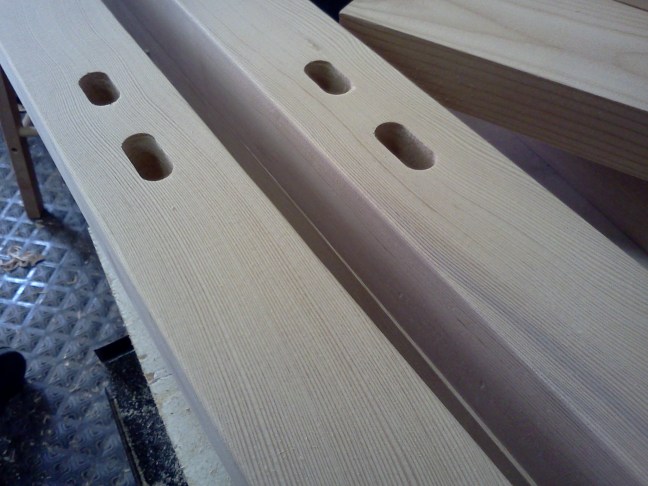
FlairWoodworks The glue-up went together perfectly square. Gotta love that. -3:19 PM Jul 26th, 2012
FlairWoodworks After lunch, I’ll sand and glue up the footboard. -3:26 PM Jul 26th, 2012
FlairWoodworks I’m back in the shop. I’ll sand the footboard components before assembling them. -5:21 PM Jul 26th, 2012
FlairWoodworks Fun fact: the Domino XL comes with (20) 12 x 100mm domino tenons. I need 20 to assemble the headboard and footboard. -5:48 PM Jul 26th, 2012
DozersWorkshop no mistakes!
FlairWoodworks I’m about to start assembling the footboard. It’s identical to the headboard. -5:50 PM Jul 26th, 2012
FlairWoodworks Well, the second glue-up didn’t go as well as the first one, but it was successful nonetheless. -6:15 PM Jul 26th, 2012
FlairWoodworks I need to prepare more canopy rail stock and the long rails that join the headboard and footboard, supporting the mattress. -6:23 PM Jul 26th, 2012
FlairWoodworks It’s not often that I need to use all of my 8″ jointer. The materials I usually work with are usually narrow or very wide. -7:05 PM Jul 26th, 2012
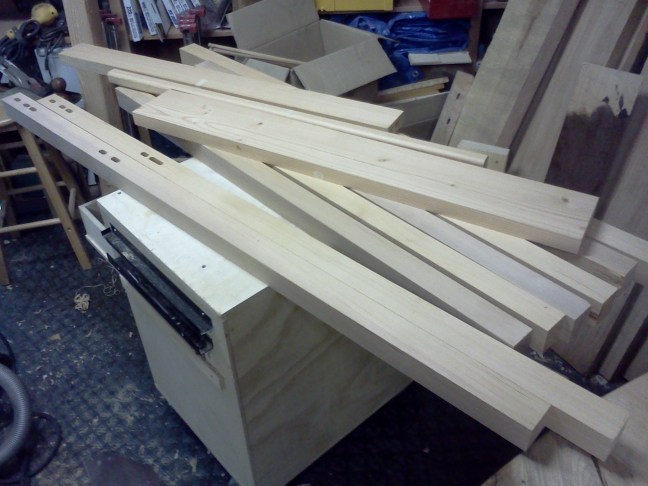
FlairWoodworks This awkward-looking stack contains enough jointed material for the remaining bed frame parts. -7:14 PM Jul 26th, 2012

FlairWoodworks I need to pull my table saw forwards so that I can rip material this long. Here, the board is against the back wall. -7:16 PM Jul 26th, 2012
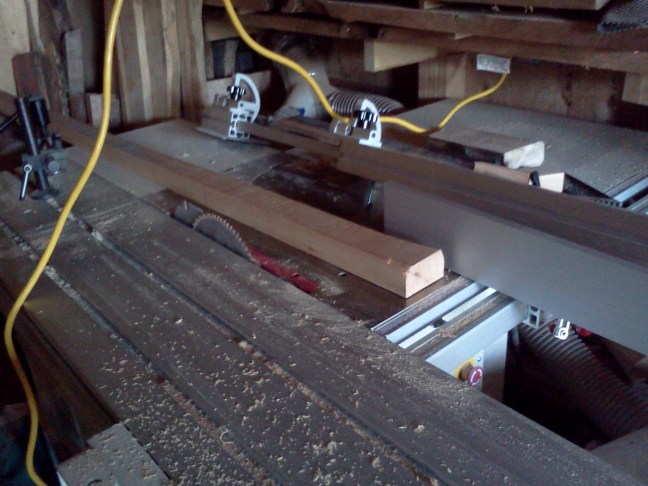
FlairWoodworks I’ve got the saw repositioned. Now I just need to change the blade. -7:29 PM Jul 26th, 2012
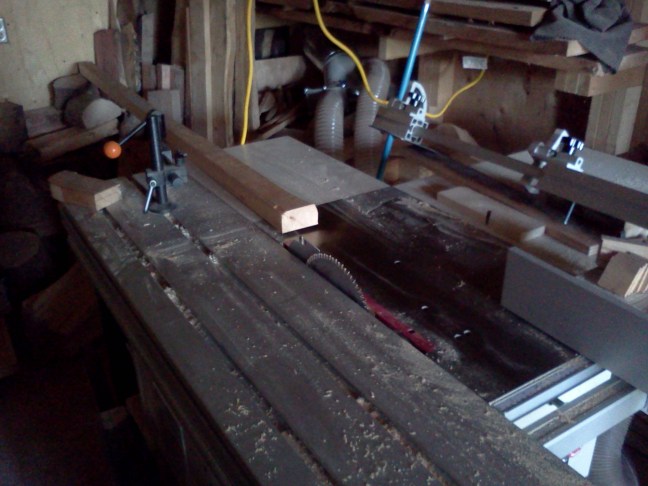
FlairWoodworks This is my go-to rip blade. -7:32 PM Jul 26th, 2012
FlairWoodworks The rip cuts are done. Now comes thickness planing. -7:57 PM Jul 26th, 2012
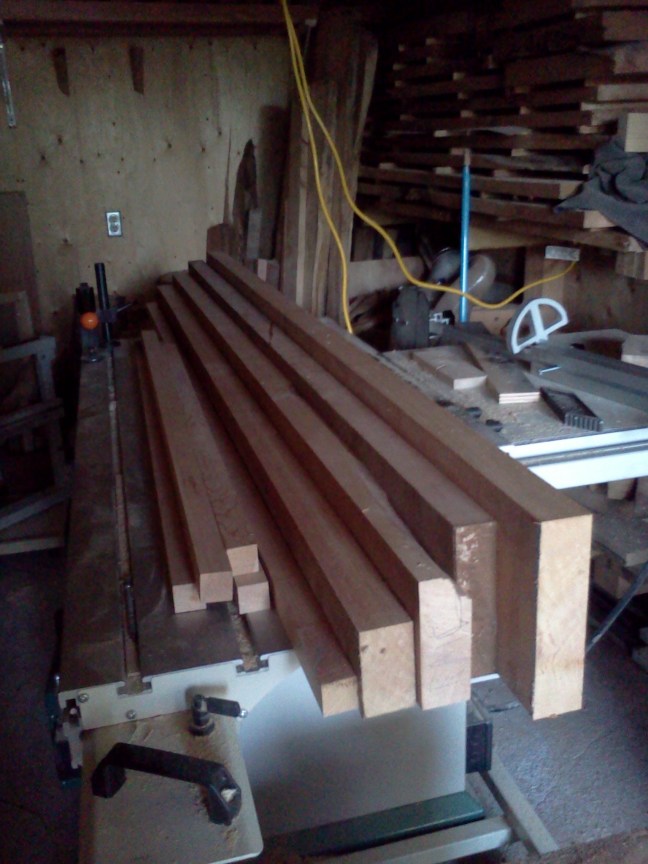
FlairWoodworks Rather than continue to work around the lumber in the middle of my shop, I decided to work atop it. -8:13 PM Jul 26th, 2012
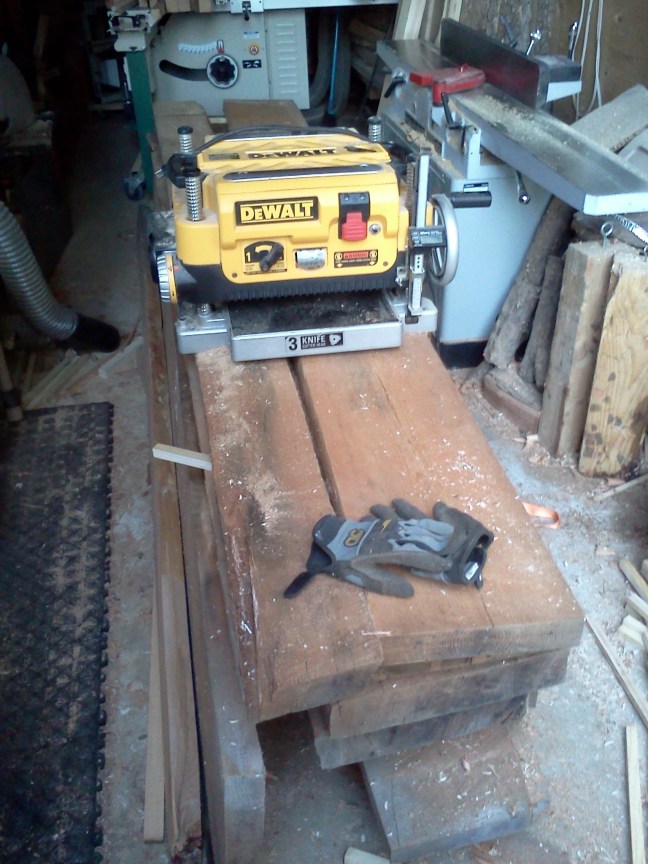
FlairWoodworks Running lumber through a thickness planer isn’t much fun but the result is worth it. -8:57 PM Jul 26th, 2012
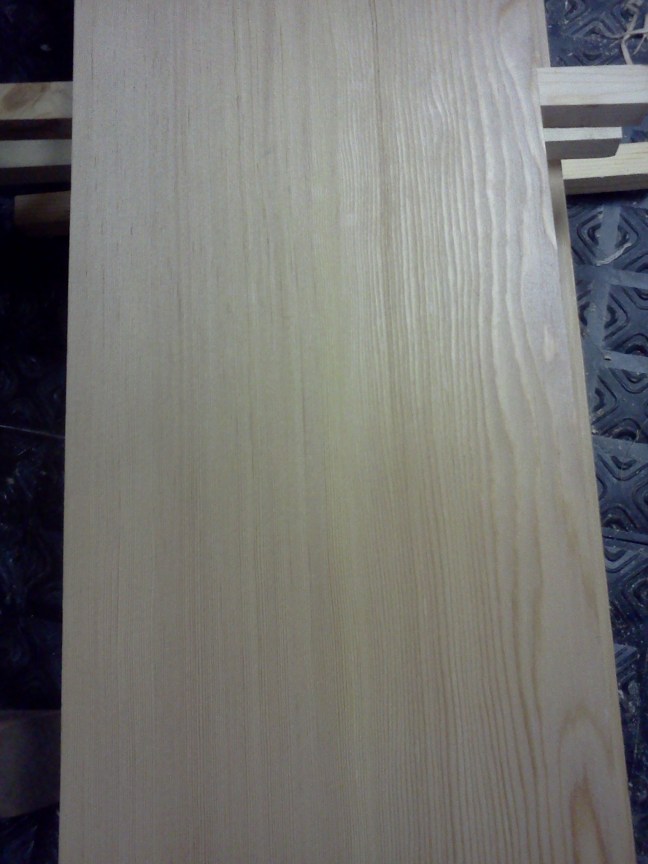
Carvingsbysean is that maple?
FlairWoodworks No, sir – it is Douglas fir.
Carvingsbysean Sure looks pretty
FlairWoodworks It may not be figured or colourful, but it is gorgeous.
FlairWoodworks I’ve brought in my tools and cleaned up a bit. I’m exhausted and closing the shop for the day. Thanks for following along with me. -9:10 PM Jul 26th, 2012
All the parts for the bed frame are milled. To complete the bed part, I still need to cut the slats that support the mattress, install the knock-down hardware for the bed and cut joinery between the long rails and canopy posts. Progress will continue in Session 5.
You can leave a comment here.
Discover more from Sculptural Woodwork by Chris Wong
Subscribe to get the latest posts sent to your email.


Okay!!! Today I see where the Domino would be extremely helpful.
Christopher,
For this type of work, a router would have only been a little slower and less convenient. However, I really wish I had this Domino XL Joiner when I needed to join the two halves of Maple Trestle Table.
Chris
Well Chris, after seeing this I said to my wife, you know I really see how I should make these beds, but I need a new tool. She said ” you mean that mortising thing?”!!! Turns out one of her carps at work convinced her to buy one for a project, by saving two man days in labor. She said you can get one if you finish the kids beds before september. How awesome is my wife??
Wahoo! I thought you were going to say that you would be able to borrow it. Lucky you! Getting the XL?
Chris
Ha! The 1st thing out of her mouth was that she could have borrowed it from work! But she quickly realized that wasn’t how this was going to play out. ;)
The XL seems the way to go–I assume that’s your recommendation.
Christopher,
I would recommend the XL for this project and for the tables I like to build. However, the XL is not the best tool for 3/4″ cabinet construction or small items.
By the way, you need a dust extractor to use with the Domino. It doesn’t need to be a Festool one, but you need something.
Chris
Nice. I like the improvised “bench” for your planer! :-)
Nice work! That doug fir is beautiful stuff.
Hi Ben,
Yes, I am enjoying working with the Douglas fir. It’s beautiful and works easily. It’s heavy but still dents when you sneeze on it at close range. I think it’s often overlooked for furniture, although vertical grain (quartersawn or riftsawn) fir is often used for trim and millwork.
Chris