

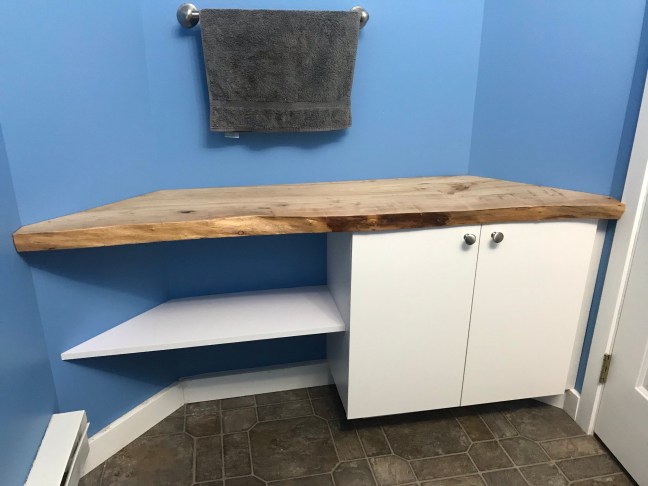
Cabinetry is not something that I do very often, but when we decided to redo our half-bathroom, I decided to custom-build a cabinet with a live-edge counter top and a shelf to better utilize the oddly-shaped space behind the door.
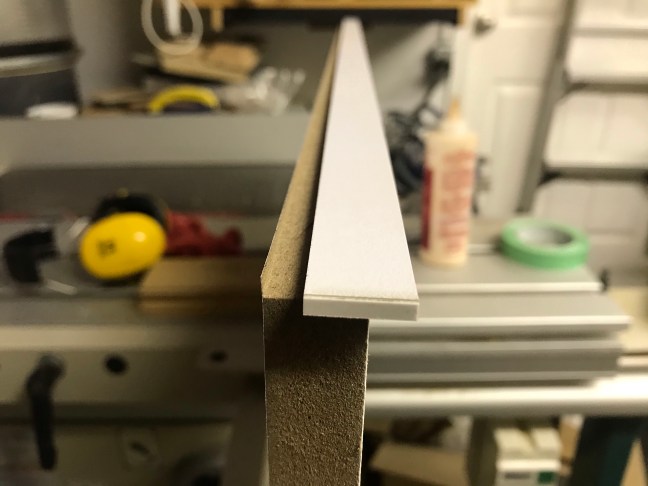
The cabinet was pretty standard, but I didn’t have any edge banding. With all the COVID-19 restrictiions, it’s a nuisance to go to the stores and honestly, I’d rather not anyways so I opted to make my own edge banding.
I resawed the melamine skin off of some melamine and rabbetted it into the cabinet parts.
I cut away the back corner of the cabinet to fit the 45-degree wall on the right, then built a toe kick, and screwed the cabinet into studs.

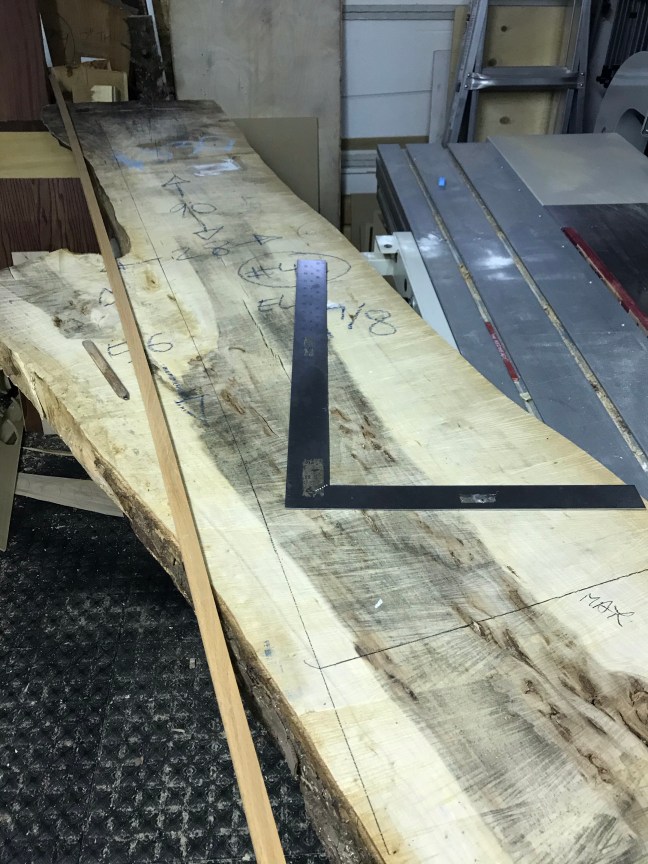
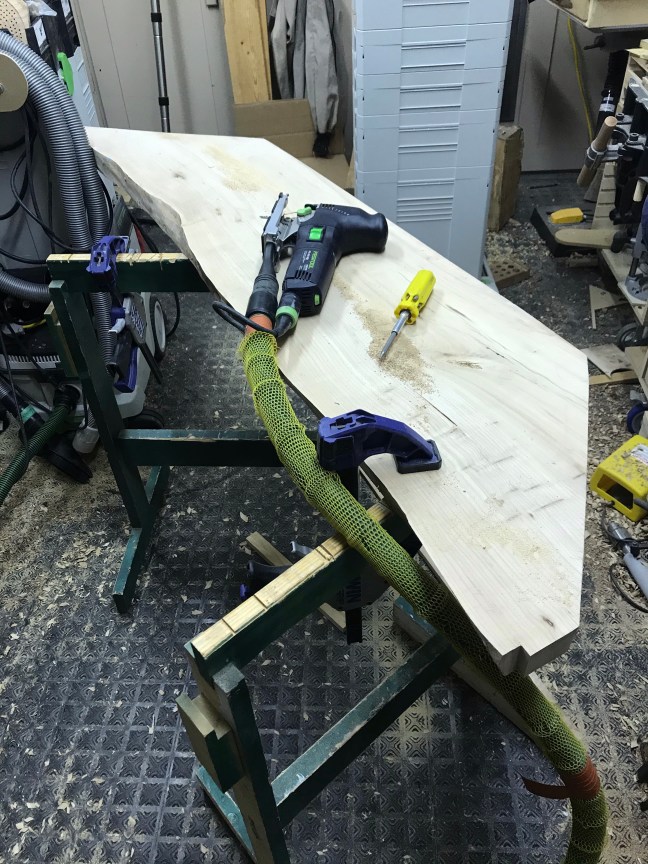
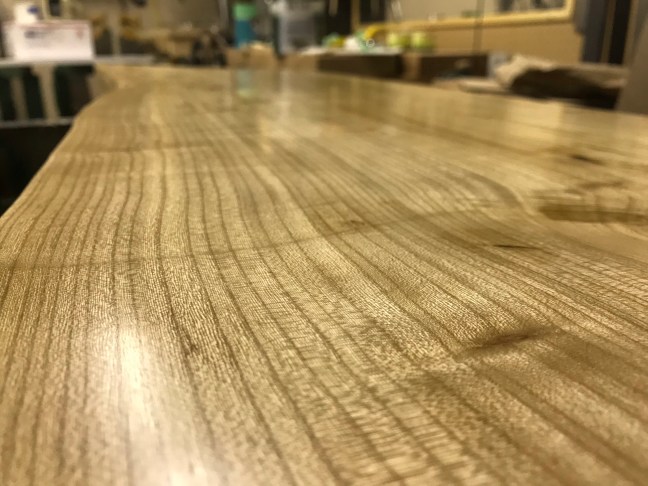
For the countertop, I selected a slab of elm with a fairly square (not sloped) live edge. I studied the shape, colouring, and characteristics of the slab and carefully marked my cuts.
After cutting the slab to rough size, I surfaced it with a scrub plane, followed by a belt sander.

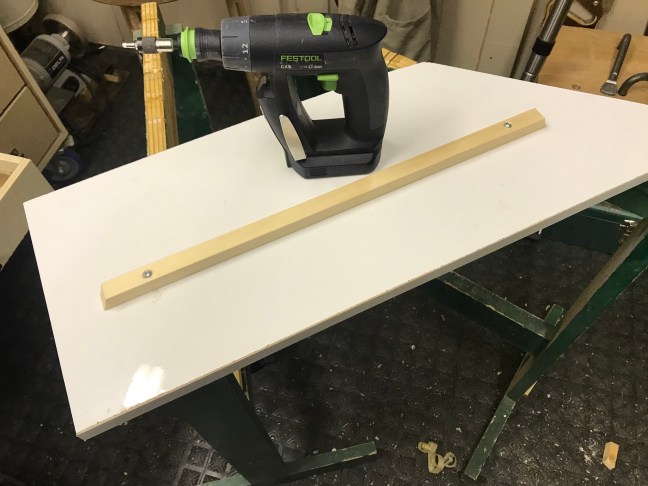
Next, I carefully made a template describing the shape of the walls with a large piece of paper and a block of wood.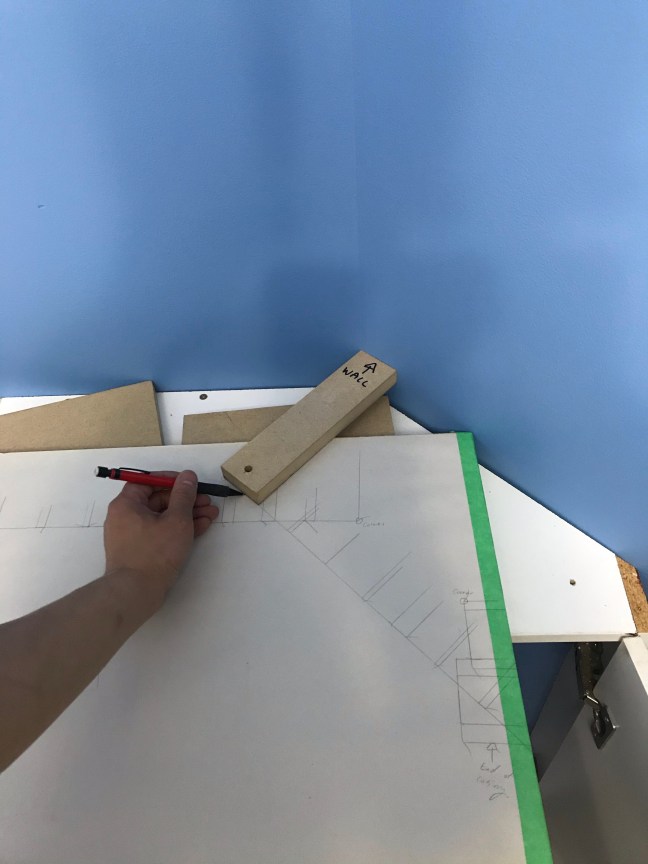
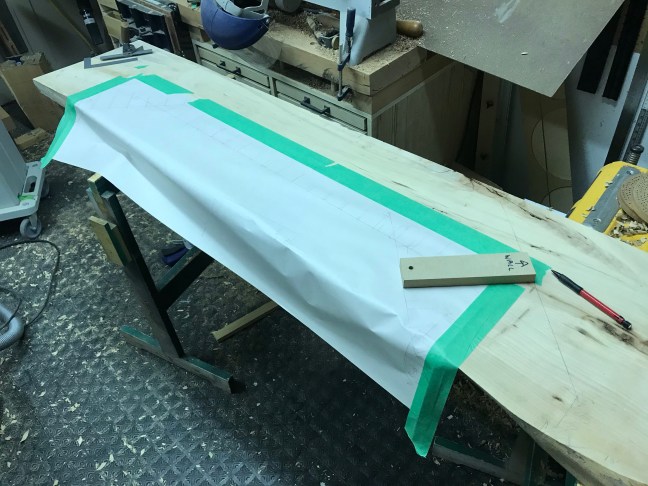
I transferred the template to the slab and carefully cut to the line with my jigsaw set to undercut by 3 degrees.
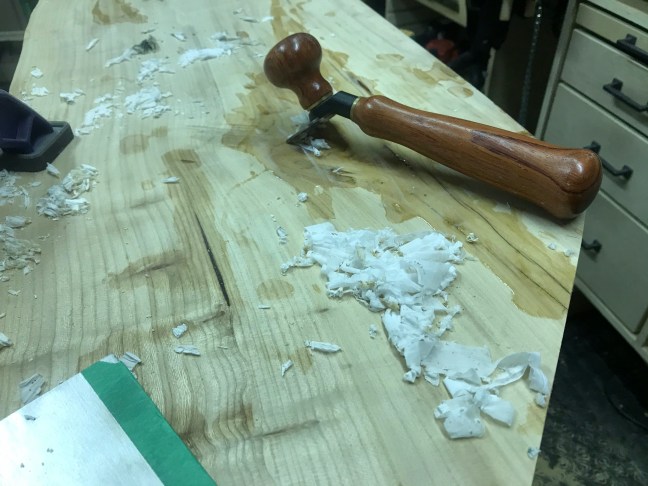
I mixed up some clear epoxy and filled the voids in the surface, then scraped it level after it dried.
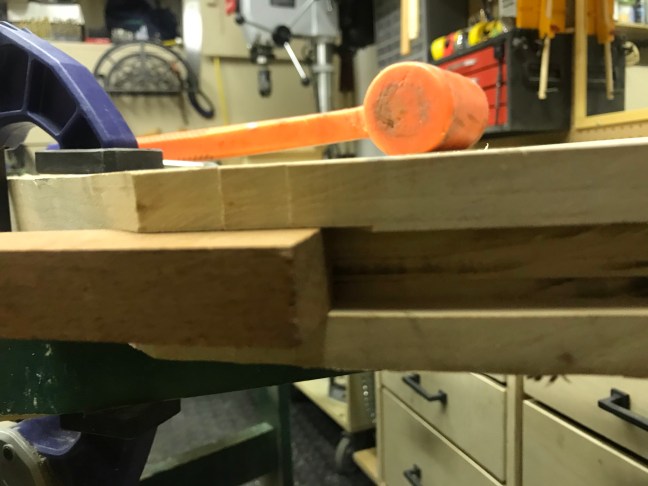
My plan was to screw the slab to the cabinet on the right side, and some additional support was required for the left side. I used a router and slot cutter to mill a slot in the end of the slab to accept a batten.
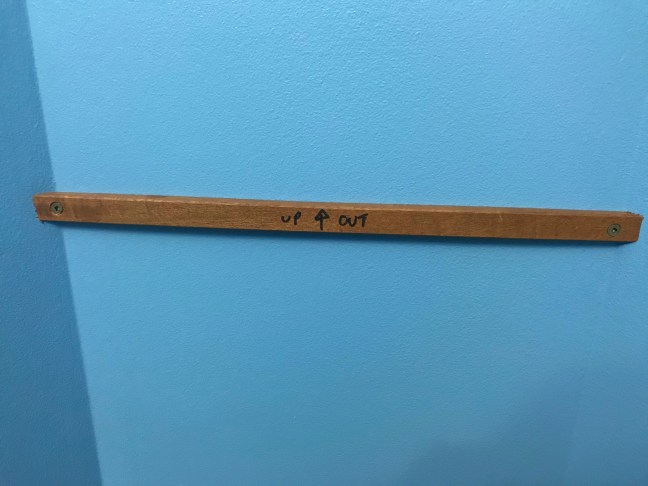
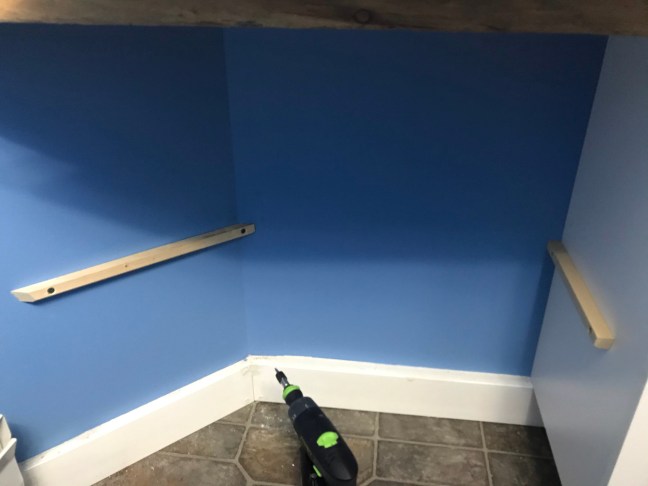
I mounted the batten to the left 45-degree wall with screws into studs.
After a slight adjustment, the slab fit properly so I finished it with a few coats of satin polyurethane and rubbed it out with 0000 steel wool and mineral oil.
I scribed the open white shelf the same way as the top. To install it, I screwed one cleat to the left 45-degree wall and one to the outside of the cabinet.
To stiffen the shelf, I screwed a batten to the underside of the shelf.
Finally, I installed the shelf with a bead of cyanoacrylate glue on each cleat.
Discover more from Products From The Mind of Chris Wong
Subscribe to get the latest posts sent to your email.

Nicely done (as usual)
Thank you, Peter.
VERY nice work Chris. Also, you verified for me, steps I willl need to go thru to finish my live edge coffee table. I like the finish approach too, since I like mineral oil and 0000.
Thx1
Jim
Thanks, Jim. The mineral oil and 0000 sure works like magic! Let me know if you need any help.
Beautiful work as always Chris. You should put this up on IG as well!
Thanks for the comment and reminder!
I like the floating look of it.
Hi Ralph,
The floating look wasn’t intentional – we simply used the same kick backset as another cabinet. However, in a small space where you can’t stand very far away from the cabinet, the kick is very well hidden.
Nice Work! the grooved cleat is very clean, will save that concept for future use.
Thanks, Jeremy. The cleat worked perfectly. Take your time setting up to ensure a snug fit, and chamfer the edges of the cleat and slot for easy installation.
Well done, Chris! I wonder if you have a recommendation for a scrub plane I could purchase? I have a large supply of rough-cut slabs of hardwood, and have wanted a scrub plane for some time.
Hi Grant,
Thanks for the comment.
Let me gather my thoughts on what makes a good scrub plane and I’ll share them in my next blog post.
I have had good luck with my Veritas low angle jack with medium toothing blade. I surfaced a 3 by 5 gnarly walnut counter top with this plane followed by a #4 smoothing plane and cabinet scraper. This worked much quicker and easier than I imagined, with excellent results. I liked the additional length of the jack plane as it bridged low spots and provided a very planer surface, somewhat like a jointer. I kept a straight edge and winding sticks at hand and checked the surface frequently.
Hi Dan,
Yes, toothed blades are excellent for expedient stock removal of figured wood. Were you using it with, across, or diagonal to the grain?
Your combination of toothed blade in a long plane followed by smoother and scraper is excellent.
Oh, and by the way, as fast as a toothed blade is, a scrub plane is way faster, but more prone to causing tearout.
The beauty of the toothed blade is it is very forgiving in regards to grain direction. I started with a finely set #5 but the grain reversed direction so often I couldn’t avoid tear-out. I switched to the toothing blade and that allowed me to remove enough material to get to a level surface. The smoothing plane and scraper left an excellent surface. I left much of the toothing marks on the underside just to serve as a reminder of the process.
I’m just getting the hang of the scrub plane. For me a longer radius camber works better. I get a chip near the width of rhe blade, but not as thick. My rationalization is that I am probably removing an equal volume of wood with each pass. Am I missing something with this approach? I have a Stanley # 40 and suspect that a wood body scrub plane with wedge will hold the blade more securely.
The toothed blade does work well regardless of grain direction, but smoother benefit is that you can clearly tell when the entire surface has been worked.
I suspect that you are having to use more effort taking the wide shaving to remove the same volume of material I do with my narrower and thicker shaving. I don’t have any evidence to back that up, however.
You may be right about the effort. I know I am bucking a long tradition of the scrub plane. Maybe I should look at a little more camber,shorter radius, on my jack plane to clean up the deeper furrows.
This is why we used to have apprentice programs to provide the hands-on training necessary to fully transfer knowledge. You can learn a lot from books, the Internet and YouTube, but it’s hard to get the last bit of refinement without a mentor standing by.
Hello Chris.. Still here enjoying your posts after many years.. A question.. Was the Poly sprayed, brushed or wiped and how long did you let the poly dry before rubbing out? Looks great!
Thanks for being a loyal reader!
I applied three coats of polyurethane with a foam brush, then sanded it back with 320-grit and applied two more coats. I think I waited two days before rubbing out. I think a full cure is more important if going for a high gloss finish – which I was not.
Wonderful finished project. Thanks for showing it .