

On the morning of Sunday, April 15th, Morton and I exchanged ideas about trestle tables, spurred on by a recent sketch of a table on which he was working. That got me yearning to build a trestle table.
I documented my progress live on Twitter which was useful because each update had a time stamp so followers could see the rate at which I progressed. Here is a list of the previous Sessions:
Session 1 – Flat Boards are Boring;
Session 2 – Playing with Slabs;
Session 3 – From Two Slabs to One Table Top;
Session 4 – Clamping Odd Shapes and Sketching on Wood;
Session 5 – Routing Pockets for Battens;
Session 6 – Making Battens and Installing Countertop Connectors;
Session 7 – Installing Battens and Flattening the Underside;
Session 8 – Make Your Tools Work for You and Flattening the Top;
Session 9 – Mortises the Slow Way (or Why I’m Buying a Domino XL);
Session 10 – Curvy Legs are Always Good;
Session 11 – Straight Lines on Wonky Surfaces;
Session 12 – Fitting the Mother of all Mortise & Tenon Joints;
Session 13 – Making Things Better, Worse, then Better;
Session 14 – Battens and Complicated Tenons, Again;
Session 15 – The Trestle Comes Together Session; and
Session 16 – Angled Mortises and Tenons.
(If you are not familiar with the format used on Twitter, every update, or “tweet” below starts with a username, being the author of that tweet. Sometimes, you see two or more usernames in a tweet. The second (and third, etc) usernames are preceded by a @ symbol and are people to whom the author is talking. The other symbol you see is #, which serves as a category. I try to remember to categorize all my tweets pertaining to this project under #flairww.)

FlairWoodworks It’ll be a short session today – I just want to get the feet glued onto the legs. #flairww -12:55 PM May 16th, 2012
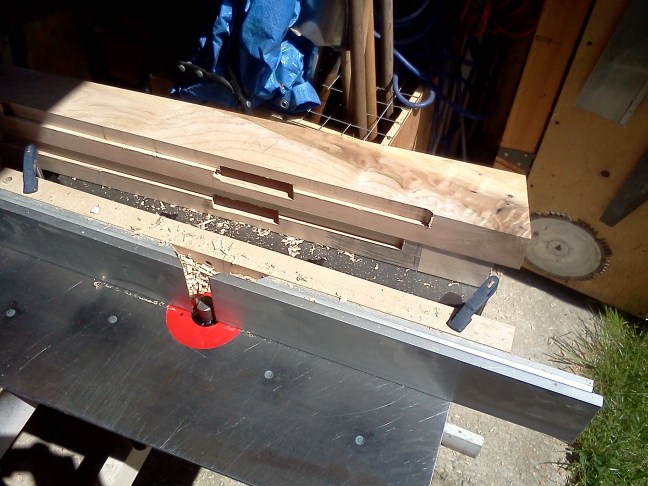
FlairWoodworks But first I want to cut the reliefs in the underside of the feet. #flairww -12:56 PM May 16th, 2012
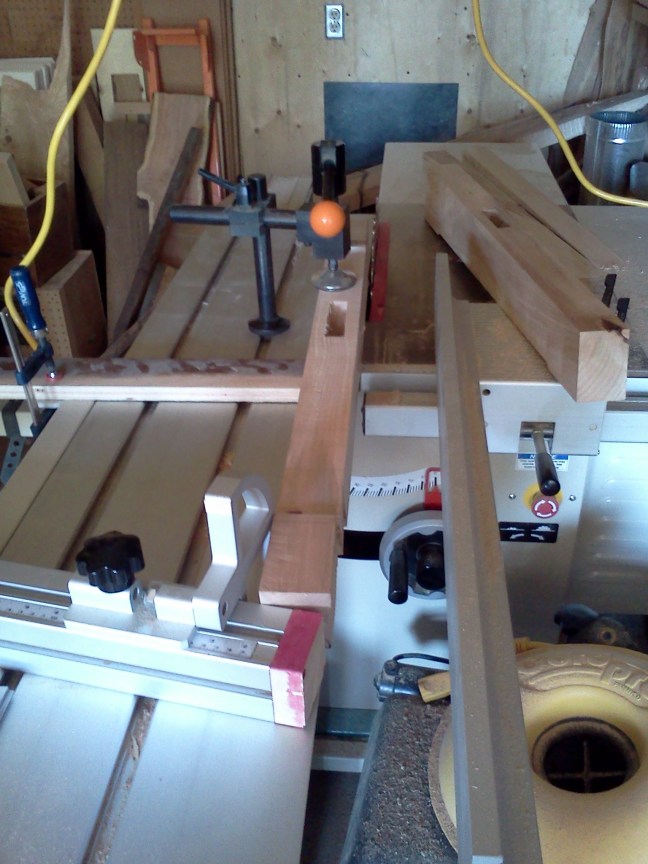
FlairWoodworks I set up a straight bit in my router table and marked start and stop lines on the fence. #flairww -1:12 PM May 16th, 2012

FlairWoodworks This bit is not as long as the material is thick so I will finish the cut-out with a flush-trim bit. #flairww -1:17 PM May 16th, 2012

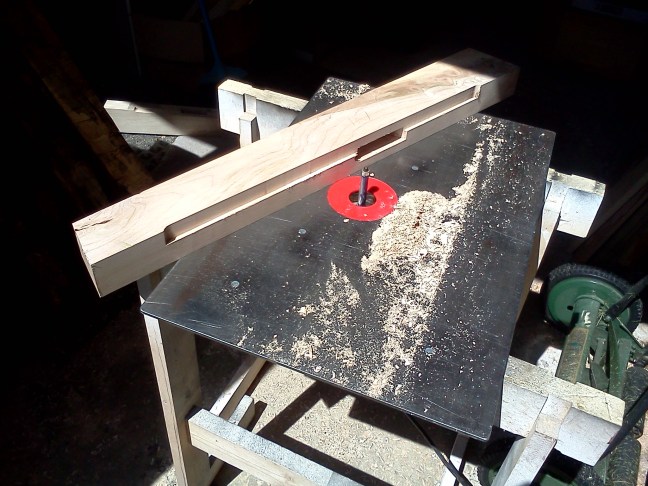
FlairWoodworks The profile cut of each foot is done so I’ll switch bits now. #flairww -1:20 PM May 16th, 2012
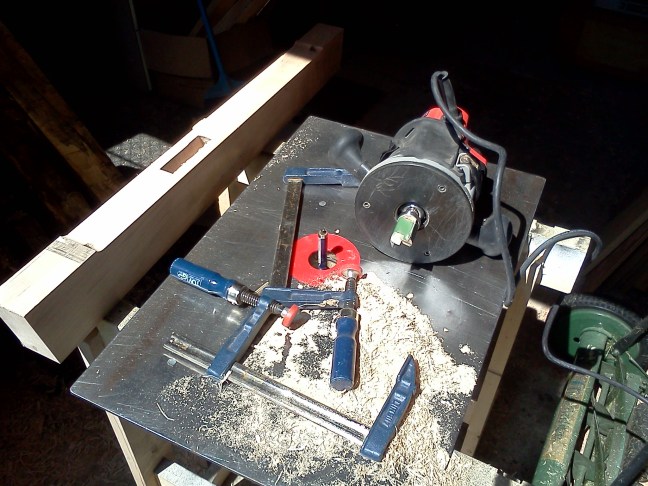
FlairWoodworks Ready to rout! The Triton router makes bit changes very simple. #flairww -1:24 PM May 16th, 2012
TheBoisShop @FlairWoodworks Love that router. I’ve got two of them myself. -1:29 PM May 16th, 2012
Bryigdocious @FlairWoodworks hah, thats a ghetto router table! -1:39 PM May 16th, 2012
FlairWoodworks Unlike many woodworkers, I am more comfortable using hand-held routers than table-mounted routers. #flairww -1:40 PM May 16th, 2012
FlairWoodworks Now I’m tuning the tenon shoulders for a tight fit between the foot and leg. #flairww -1:42 PM May 16th, 2012
FlairWoodworks This foot is ready to be glued. #flairww -1:45 PM May 16th, 2012
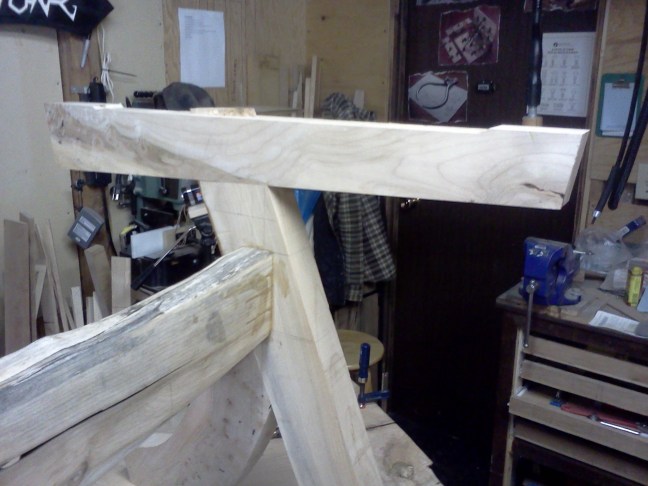
FlairWoodworks This foot gets really tight here. #flairww -1:49 PM May 16th, 2012
FlairWoodworks I’ve tuned the tightness of the joint. Now I need to tune the shoulders. #flairww -1:52 PM May 16th, 2012

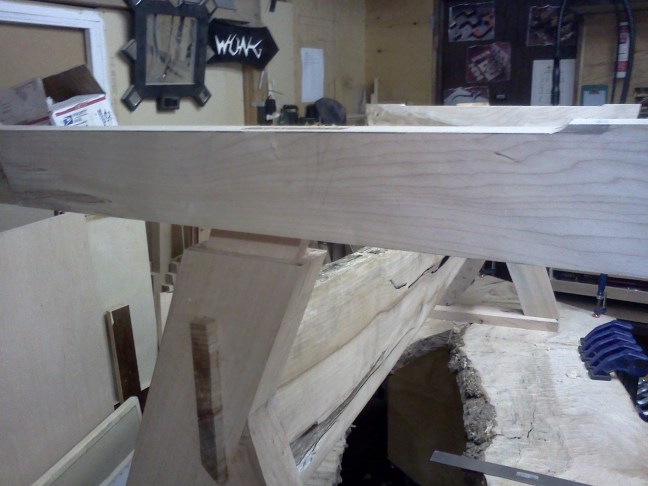
FlairWoodworks I start by flattening the top face of the foot. #flairww -1:56 PM May 16th, 2012
FlairWoodworks Sometimes reestablishing flat surfaces is all that is required! #flairww -1:58 PM May 16th, 2012

FlairWoodworks One end of this foot still shows the saw marks from when it was milled. #flairww -2:00 PM May 16th, 2012

FlairWoodworks I am going to taper the sides of the feet slightly from the mortise towards the narrow end. #flairww -2:12 PM May 16th, 2012

FlairWoodworks I could use the bandsaw but the tablesaw makes the cut easier to repeat for the other foot. #flairww -2:13 PM May 16th, 2012
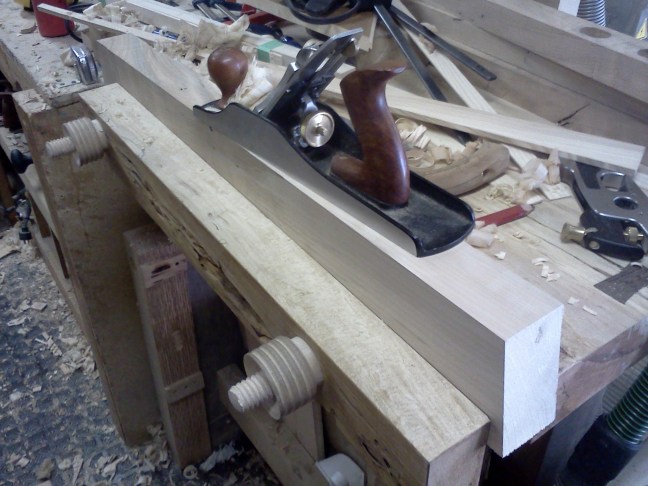
FlairWoodworks The tablesaw doesn’t quite have enough capacity to complete the cut. I’ll use a handplane to finish. #flairww -2:17 PM May 16th, 2012

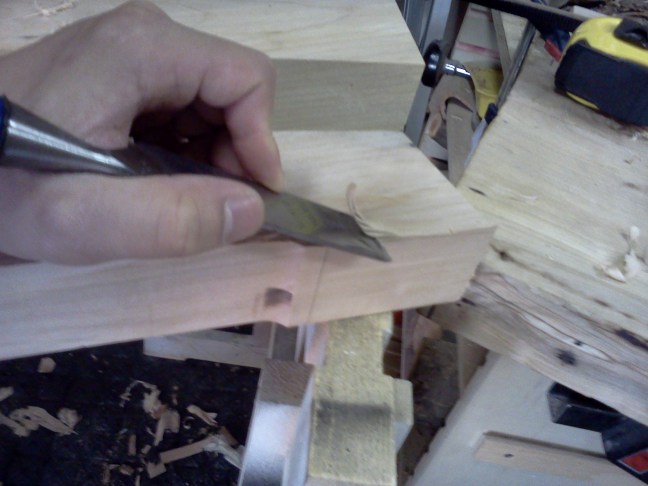
FlairWoodworks I used a chisel to remove the bulk of the waste before using a block plane to bring it flush. #flairww -2:23 PM May 16th, 2012
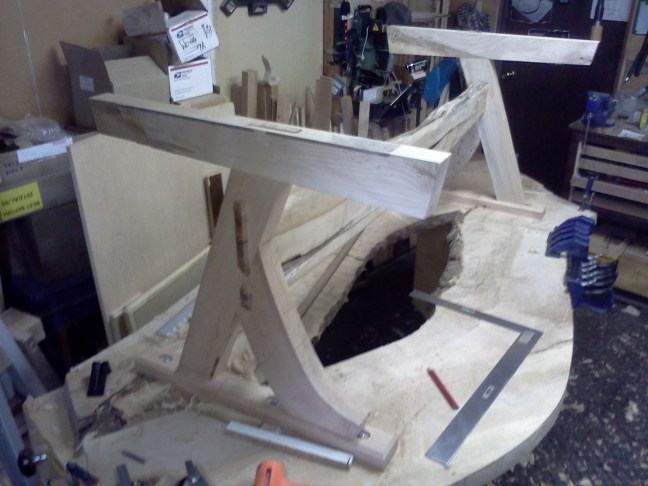
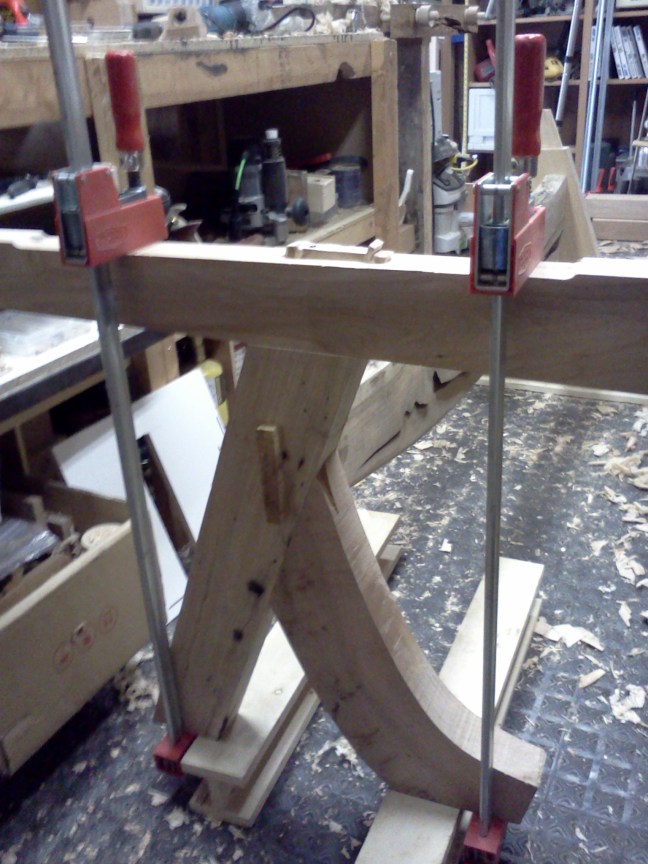
FlairWoodworks One final dry fit with clamps before breaking out the glue. #flairww -2:25 PM May 16th, 2012
FlairWoodworks The first glue-up was easy. #flairww -2:34 PM May 16th, 2012
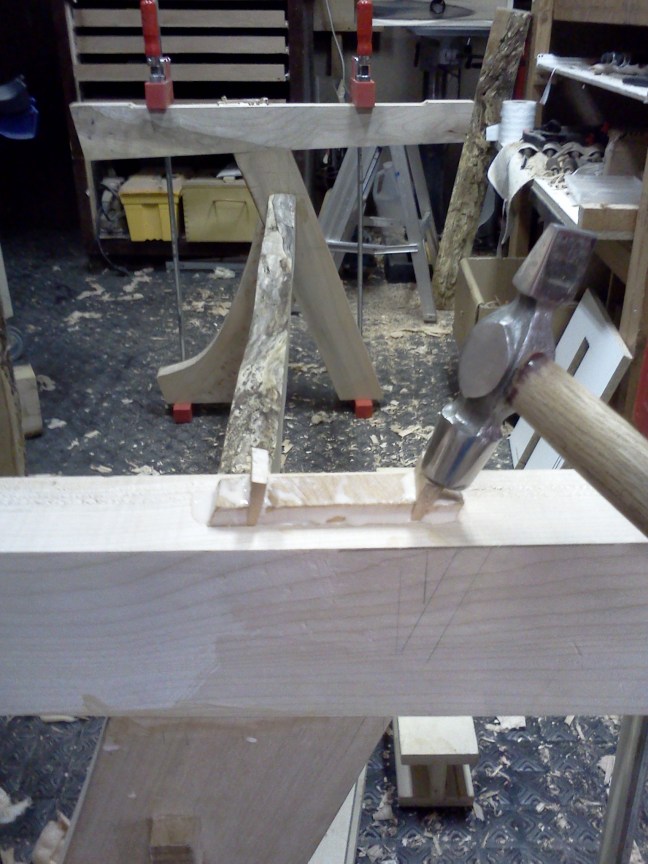
FlairWoodworks I drove in the wedges with alternating taps from my small steel hammer until I heard they were fully seated. #flairww -2:46 PM May 16th, 2012
FlairWoodworks That’s all for now! #flairww -2:49 PM May 16th, 2012
With the base fully assembled, sculpting comes next! What do you think of the project so far? Let me know!
Discover more from Products From The Mind of Chris Wong
Subscribe to get the latest posts sent to your email.

You’d hate that router table outside the shop in Arizona. Black steel top?! You would have sand-shaded that stock moving it over the surface! :)
Paul-Marcel,
This router table is actually black phenolic. My other router table top is shiny steel and is blinding to use in the sun, so it’s no fun either.
Chris